Easy Beginner Fingerless Crochet Mitts Free Pattern
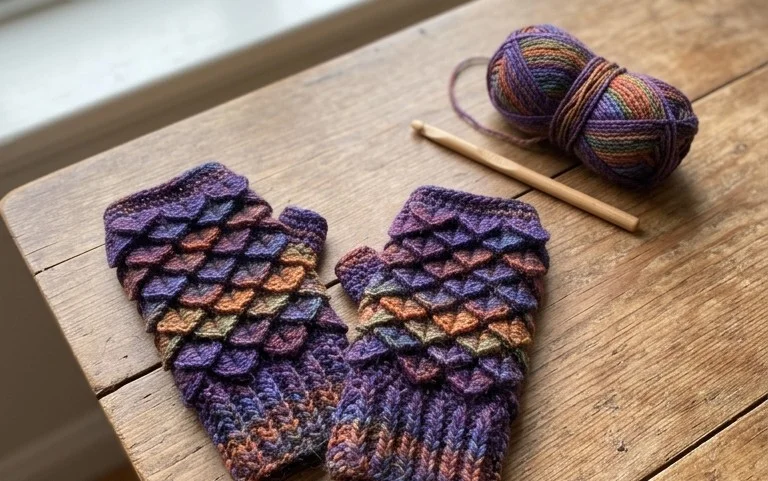
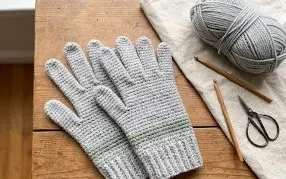
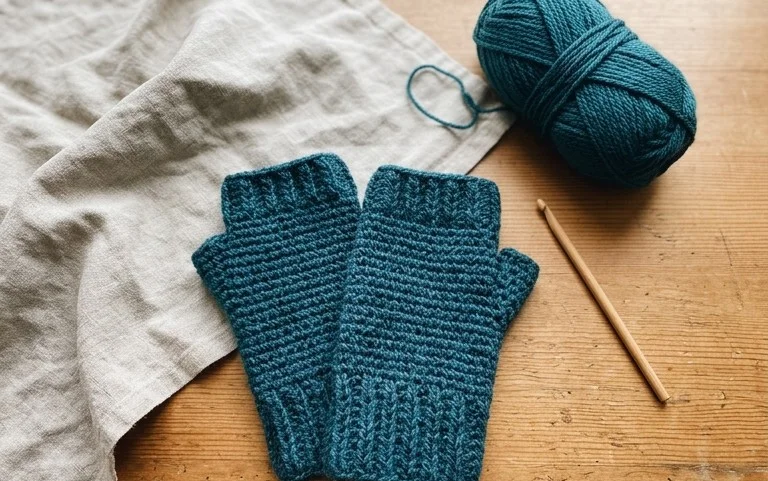
Soft yarn and a snug fit make fingerless mitts a handy layer when the air turns cool but you still need your fingertips free. This crochet project suits beginners who are ready to practice steady stitches and gift makers who want to create something wearable and personal. The finished mitts bring warmth to your wrists and palms without getting in the way of typing, reading, or holding a mug. You’ll learn how repeated stitches build the fabric and how to shape an opening for the thumb, with clear guidance for working through the pattern. Small enough to carry in a project bag, they are satisfying to make in a few focused sessions. Choose a yarn color that matches a favorite coat, or make a pair in a shade the recipient wears often.
Why You’ll Love This Pattern
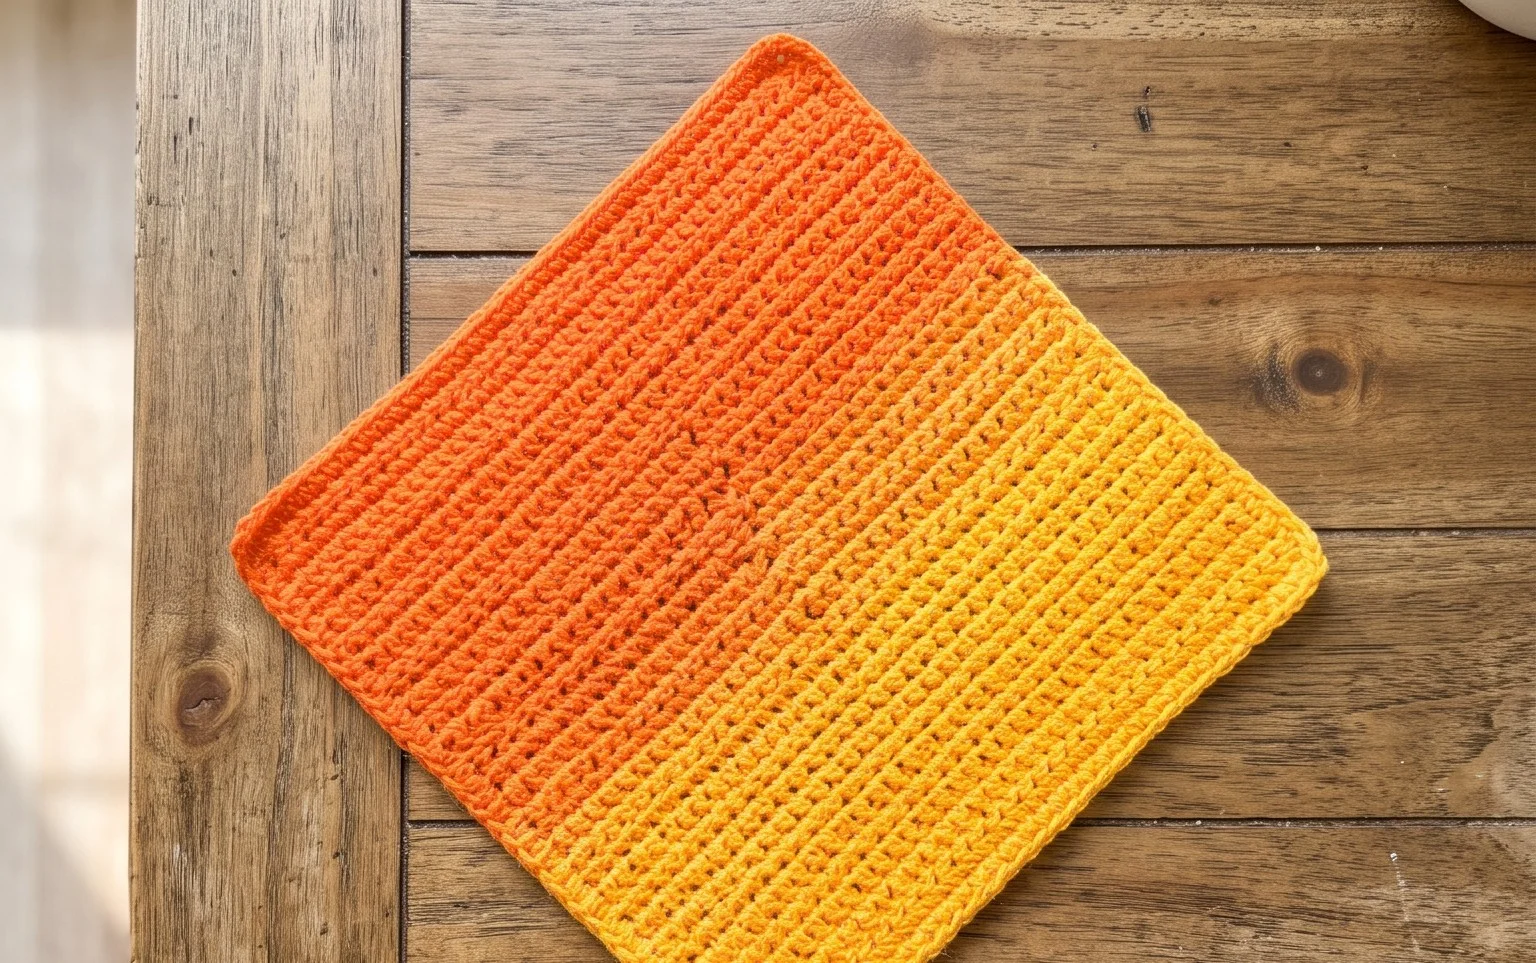
A firm cotton fabric gives this crochet dishcloth the texture needed for wiping counters and washing dishes. The pattern uses single crochet in straight rows, so you can focus on keeping the edges even rather than learning shaping or joining rounds.
It is a practical first project: the same stitch is repeated across every row, and the finished cloth has no seams or added edging. One skein can make several cloths, depending on its yardage, so it is a useful way to make a coordinated set. Cotton also holds up to regular washing, which makes the cloth handy for everyday use or a simple handmade gift.
The rows were easy to count, and the cotton made a sturdy cloth that I could use the same day I finished it.
— Mara, sample maker
Pattern Overview & Skill Level
- Skill Level: Beginner. You need to chain, single crochet, turn, and keep track of row counts.
- Approximate Time: About 2–3 hours, depending on your pace and how often you pause to count.
- Construction: A flat rectangle worked in rows from the bottom edge upward. The turning chain does not count as a stitch.
- Finished Dimensions & Sizing: About 8.5 inches wide by 8.5 inches tall when the gauge is met. Small differences in tension can change the finished size.
Gauge: 14 single crochet stitches and 16 rows measure 4 inches in the main fabric, after light washing and drying. Check your gauge before starting if you want a cloth close to the stated dimensions. Change hook size if needed: a larger hook makes looser, larger stitches, while a smaller hook makes denser, smaller stitches.
Materials & Supplies Needed
- Yarn: About 90 yards of medium-weight cotton yarn, also called worsted weight or #4. A solid color makes it easy to see the rows; use one color throughout.
- Hook Size: 5.0 mm / H-8 crochet hook. Use the hook that gives you the stated gauge.
- Notions: Tapestry needle for weaving in the yarn ends, scissors, and a ruler or tape measure for checking gauge.
- Substitutions: Cotton-bamboo yarn can work and may feel softer with a slight drape. It can also stretch more when wet. Use a similar medium weight and check gauge. Avoid fluffy yarn, which makes the stitch texture harder to see; acrylic is less absorbent than cotton and may not work as well for dishwashing.
Stitch Guide & Abbreviations (US Terms)
- ch = chain.
- sc = single crochet.
- st = stitch; sts = stitches.
- rep = repeat.
- turn = rotate the work so the next row is made across the opposite side.
Single crochet: Insert the hook into the stitch, yarn over and pull up a loop, yarn over again, then pull through both loops on the hook. Work into the top of each stitch unless the pattern says otherwise. The chain at the start of each row gives you turning height and is not counted as a stitch.
Step-by-Step Pattern Instructions
Dishcloth
- Foundation: Ch 31. This chain provides 30 stitches for the first row; do not count the loop on your hook.
- Row 1: Sc in the second ch from the hook and in each ch across. Turn. (30 sts)
- Rows 2–34: Ch 1, sc in each st across, turn. Repeat this row 33 times, for 34 rows total. (30 sts per row)
Finishing
After Row 34, cut the yarn, leaving a tail of about 6 inches. Pull the tail through the final loop to secure it. Thread the tail onto a tapestry needle and weave it through the backs of several stitches, then change direction and weave through a few more so it stays in place. Repeat with the beginning tail.
Lay the cloth flat and measure it. If it is close to 8.5 inches square, it is ready to use. If you would like to soften the cotton, wash and dry it according to the yarn label before using. The fabric may settle slightly after its first wash.
Care & Washing Instructions
- Wash cotton in cool or warm water, up to 40°C (104°F), with similar colors; follow the yarn label if it gives a lower temperature.
- Dry flat or tumble dry on low if the yarn label allows it; reshape the cloth while it is damp.
- Block lightly by smoothing the damp cloth into a square, then let it dry flat; follow the yarn label for fiber-specific care.
Pro Tips & Common Mistakes to Avoid
- Keep your tension steady, especially on the foundation chain. If that edge feels much tighter than the rows, make the chain with a slightly larger hook, then switch to the 5.0 mm hook for Row 1.
- Count the stitches at the end of each row. The first and last stitches can be easy to miss, and skipping one will make the cloth narrower as you work.
- Weave each yarn end through the backs of several stitches and change direction once. A short pass through only one stitch can loosen during washing.
- For a larger cloth, add chains in groups of one to increase the width, then work extra rows to match the new height. A larger cloth uses more yarn; check the skein yardage and allow extra if you are making multiple cloths.
Frequently Asked Questions
Can I use a different yarn fiber?
Yes. Cotton is recommended because it is absorbent and washable. Cotton-bamboo is a workable alternative with a softer feel, but it may stretch more when wet. Match the yarn weight and check gauge, since a different fiber can change the drape and final dimensions.
How can I make the dishcloth bigger or smaller?
For a narrower or wider cloth, change the foundation chain while keeping an even stitch count after the turning chain. For a shorter or taller cloth, work fewer or more rows. Measure as you go; a size change also changes how much yarn you need.
Is this pattern suitable for a first crochet project?
Yes. It uses only chains and single crochet, with no shaping, color changes, or sewing. Check the first few rows for 30 stitches each, since correcting an edge mistake early is easier than fixing it after many rows.
Can I sell dishcloths made from this pattern?
Check the designer’s terms before selling finished items, and follow any rules about credit or product listings. If you sell them, describe the yarn and care instructions accurately so buyers know how to wash the cloth.
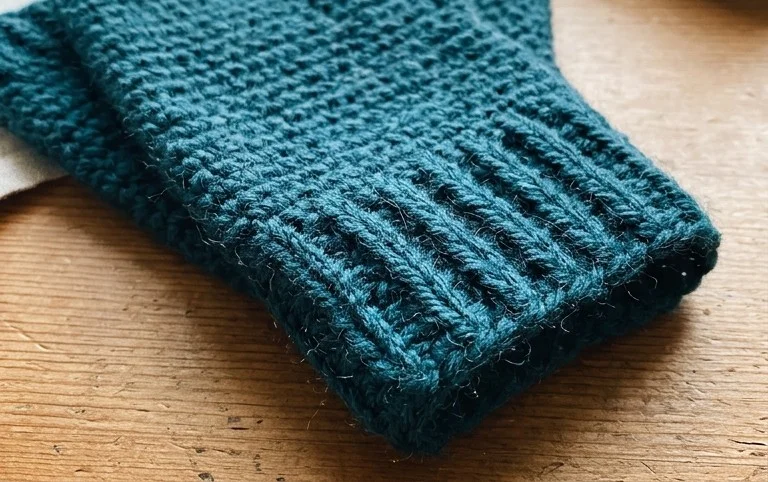
A finished pair of fingerless mitts is a useful little project, with warm palms and free fingertips for everyday tasks. For a simple variation, use a different color for each mitt or choose a second shade for a contrasting cuff, if your pattern includes one. As you work, try the mitt on to check the fit around your palm and thumb opening; a small adjustment in tension can make a noticeable difference in comfort. When your pair is complete, share a photo on Pinterest or your favorite social media platform so other crocheters can see your color choice. Then explore more free crochet patterns on the blog for your next small, practical make.