Free Crochet Potholder Patterns for a Cozy Kitchen
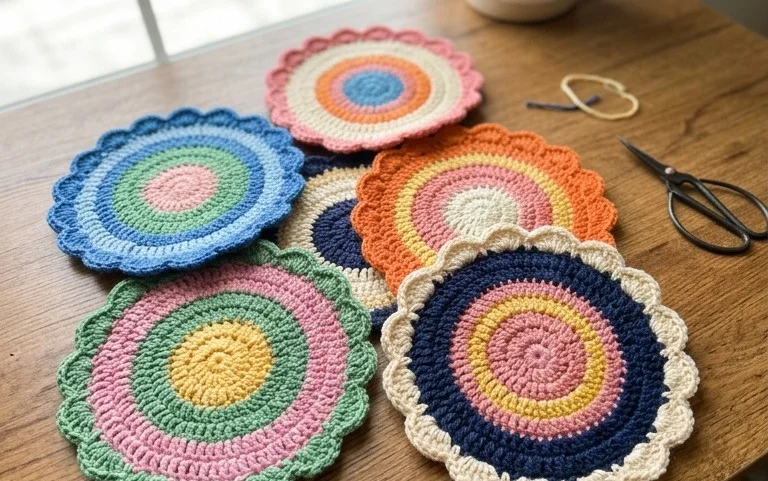
Thick cotton yarn and closely worked stitches give a crochet potholder its useful weight and a soft, textured feel. These free patterns bring practical kitchen pieces within reach of beginners, while giving more experienced crocheters a satisfying project to finish between larger makes. A handmade potholder can add a bit of color beside the stove or make a thoughtful gift for someone setting up a new home. The patterns use familiar techniques such as single crochet, working through one loop, or stitching two layers together for extra thickness. As you browse, you’ll find options with different shapes and surface textures, along with tips for choosing cotton yarn and keeping your edges even. Pick a design that suits your kitchen, then enjoy making something you can put to work every day.
Why You’ll Love This Pattern
A firm cotton washcloth with small raised ridges is useful at the sink and simple to make with one hook and a single skein. The pattern uses single crochet, with the back loops worked after the first row to create its texture. There are no color changes or shaped sections to keep track of.
The small size makes it a practical project for learning to keep row edges even. It takes about two to three hours, depending on your pace, and uses roughly 65 yards of yarn, so a partial skein may be enough. Cotton is absorbent and holds up to regular washing, making the finished cloth useful for everyday kitchen or bathroom chores.
The ridged rows were easy to count, and the cotton cloth came out sturdy enough for daily use. I finished it in an afternoon.
— Mara, sample crocheter
Pattern Overview & Skill Level
- Skill Level: Beginner. You need to know how to chain and single crochet.
- Approximate Time: Two to three hours, including weaving in the ends.
- Construction: Worked flat in rows, starting with a foundation chain. The first row is worked through both loops; later rows are worked through the back loop only to make ridges.
- Finished Dimensions & Sizing: About 6.25 inches wide by 5.5 inches tall after washing and drying flat. Dimensions can vary with tension.
Gauge: 16 single crochet stitches and 18 rows measure about 4 inches square in the pattern stitch. Gauge is a guide for matching the finished size; this washcloth does not need a precise fit.
Materials & Supplies Needed
- Yarn: About 65 yards of worsted-weight (#4) cotton yarn. Use one color, or combine remnants if you are comfortable joining a new strand at a row edge. Cotton is absorbent and tolerates frequent laundering.
- Hook: 5.0 mm / H-8 crochet hook. If your fabric feels stiff, try a 5.5 mm / I-9 hook; if it feels loose and floppy, try a 4.5 mm / G-6.
- Notions: Tapestry needle for weaving in the ends, scissors, and a ruler or tape measure. A stitch marker is optional for marking the first stitch of a row.
- Substitution: A similar-weight cotton or cotton blend is the closest substitute. A thinner yarn makes a smaller, lighter cloth and may need a smaller hook; a thicker yarn makes a larger, heavier cloth and uses more yardage. Acrylic can be used, but it may absorb water differently from cotton.
Stitch Guide & Abbreviations (US Terms)
- ch = chain.
- sc = single crochet.
- BLO = back loop only. Insert the hook under the back loop of the stitch, leaving the front loop unworked. This creates the raised ridges.
- st = stitch.
- sts = stitches.
The turning chain does not count as a stitch in this pattern. Work the first single crochet of each row into the first stitch, not into the turning chain. This helps keep both side edges straight.
Step-by-Step Pattern Instructions
Washcloth
- Foundation: Ch 26. Keep the chain loose enough to work into; if your starting edge is tight, use a hook one size larger just for the chain.
- Row 1: Sc in the second ch from the hook and in each ch across. Turn. (25 sts)
- Rows 2–25: Ch 1, turn. Sc BLO in each st across. Turn at the end of each row. (25 sts per row)
After Row 25, check that the cloth is close to 6.25 inches wide and 5.5 inches tall. Small differences are normal, especially before washing. If you want to check your work as you go, count the 25 stitches at the end of each row and look for one ridge on the front for each completed BLO row.
Finishing
Fasten off, leaving a tail about 6 inches long. Thread the tail onto a tapestry needle and weave it through the backs of several stitches along the edge. Change direction and weave through a few more stitches so the end is secure, then trim the excess. Weave in the starting tail the same way. Do not pull the edge tight while hiding the yarn, or the cloth may pucker.
Wash and dry the cloth according to the yarn label, then lay it flat and smooth the corners into shape. Blocking is optional; a light reshaping while damp is usually enough to even the edges.
Care & Washing Instructions
- Wash cotton in cool or warm water, up to 40°C, with similar colors; follow the yarn label if it gives different instructions.
- Dry flat or tumble dry on low if the yarn label allows it; avoid high heat, which can shrink cotton.
- While damp, smooth the cloth back to its rectangular shape and let it dry flat; blocking is optional.
Pro Tips & Common Mistakes to Avoid
- Keep your tension steady: A tight starting chain can draw in the bottom edge. Make the chain loosely or use the larger hook for the foundation, then switch back for the rows.
- Count each row: Check for 25 stitches before turning. A marker in the first stitch can help you find the edge stitch, especially when the turning chain sits close to it.
- Hide ends securely: Weave each tail through the backs of stitches and change direction once. Avoid carrying a tail along the edge where it may show or form a bulky ridge.
- Adjust size with care: Add or remove foundation chains to change the width, keeping an even number of starting chains for this setup. Add or remove rows for the height. A larger cloth uses more yarn, so allow extra yardage for each added section.
Frequently Asked Questions
Can I use a different yarn fiber?
Yes. Cotton is a good choice for an absorbent washcloth and is usually easy to launder. A cotton blend can also work. Acrylic may feel less absorbent, and wool may need gentler washing, so check the yarn label and expect the cloth’s texture and care needs to change.
How can I make the washcloth larger or smaller?
Change the starting chain to adjust the width and work more or fewer rows to adjust the height. Each extra chain adds approximately one stitch of width, though your gauge affects the measurement. A larger cloth requires more yarn; a smaller one requires less.
Is this pattern suitable for a first crochet project?
Yes, if you can make a chain and single crochet. The main practice point is working into the first and last stitch of every row. Count 25 stitches before turning so the edges do not gradually narrow or widen.
May I sell washcloths made from this pattern?
Check the designer’s terms before selling finished items, and follow any rules that apply to the pattern. If you do sell them, describe the yarn fiber accurately and include care information for the buyer.
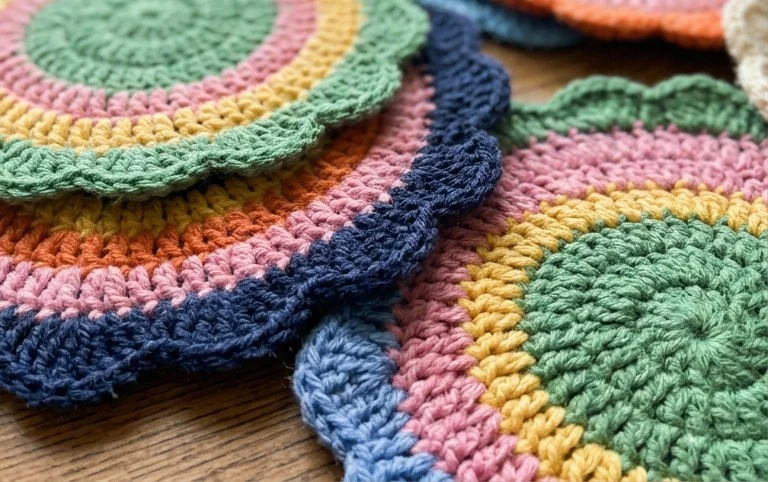
A finished potholder is a small, useful piece that brings handmade texture right into the kitchen. Choose a sturdy cotton yarn and work the stitches closely so the fabric feels substantial; always keep acrylic yarn away from hot cookware, since it can melt. For a simple variation, make the same pattern in a different color to match your towels or kitchen curtains. When your potholder is ready, share a photo on Pinterest or your favorite social media platform so others can see how your yarn and stitch choice turned out. You can also browse the other free crochet patterns on the blog for another practical project, from quick gifts to useful pieces for the home.