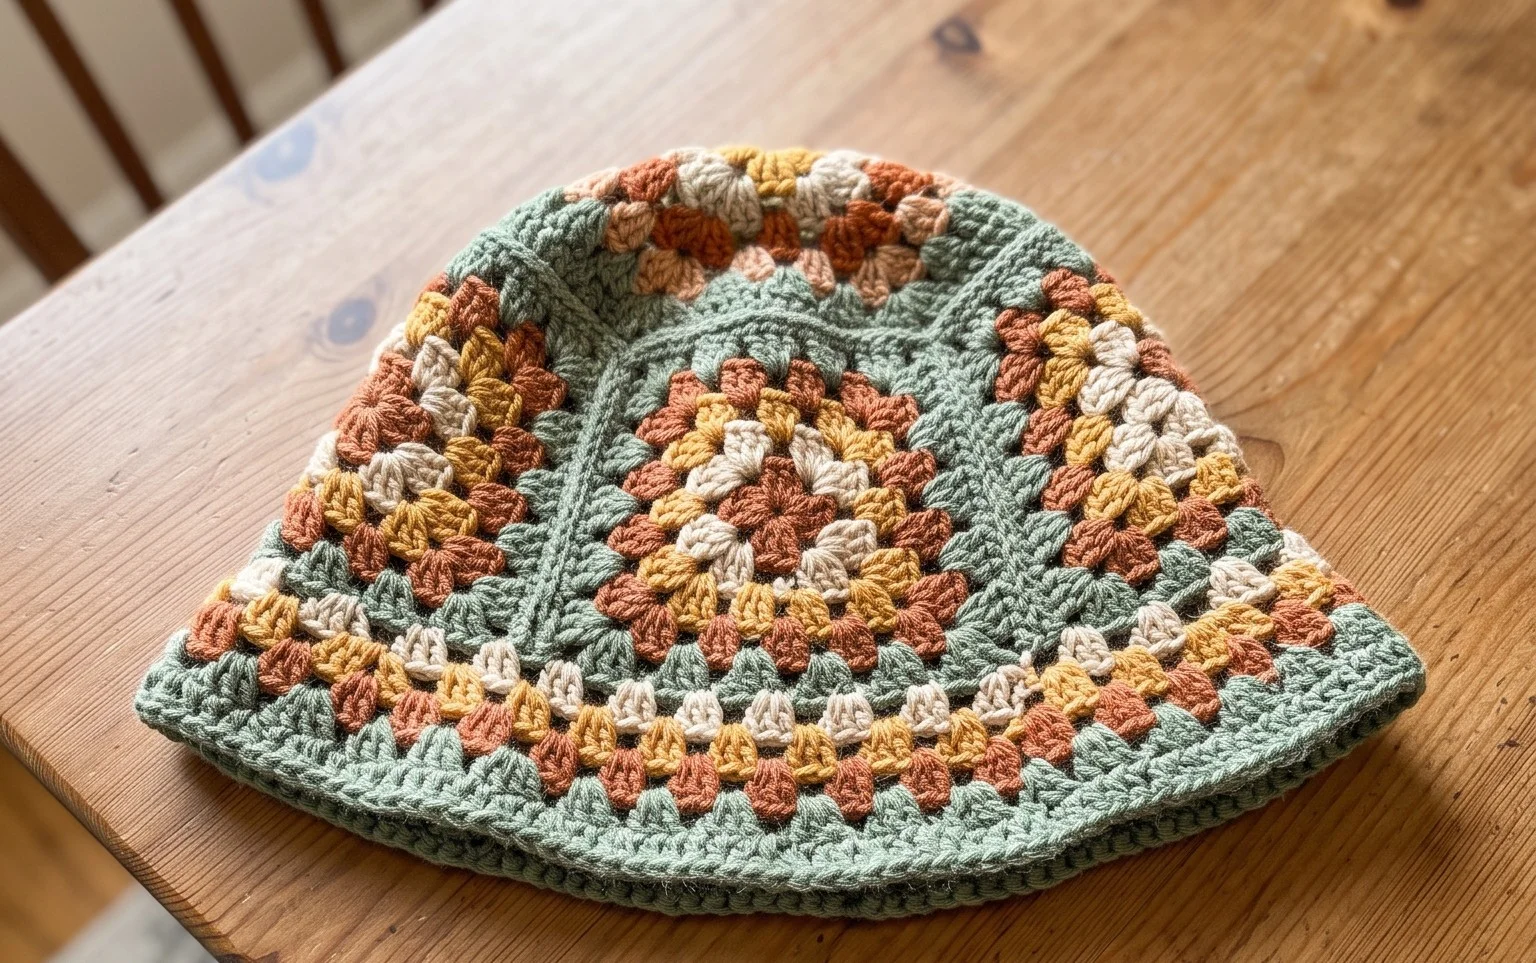
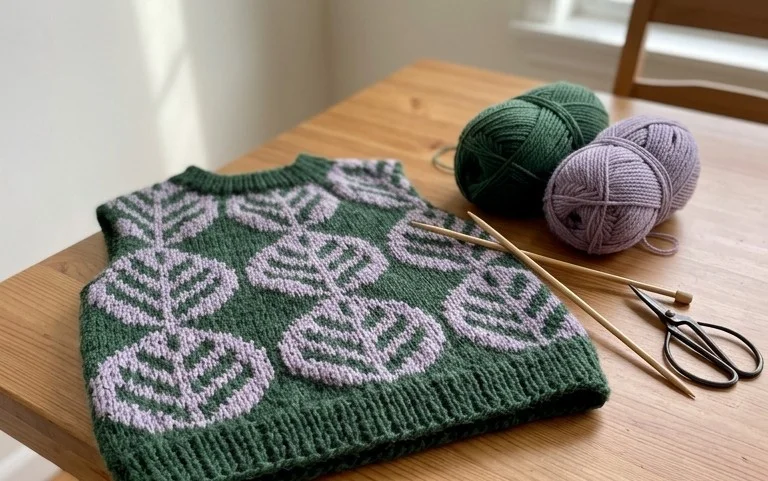
Easy Crochet Pot Lid Holders: Free Step-by-Step Pattern
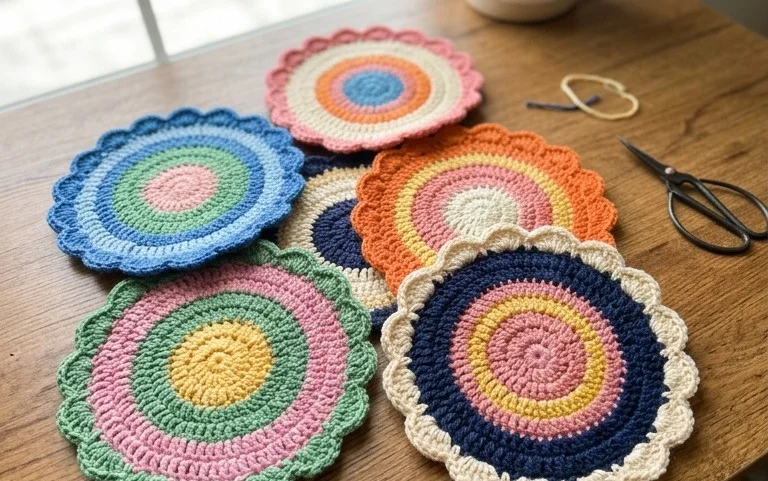
A thick layer of cotton between your hand and a scalding lid prevents those minor kitchen burns we have all experienced at least once. These handmade holders feel substantial and offer enough grip to safely move heavy stoneware or boiling pots off the stove. Beginners find this project rewarding because the pattern relies on a rhythmic stitch repeat that builds up density quickly. You will master the moss stitch to create a durable, heat-resistant barrier that stays flexible after every cycle through the laundry. These functional pieces fit perfectly in a busy home kitchen or make thoughtful gifts for new neighbors.
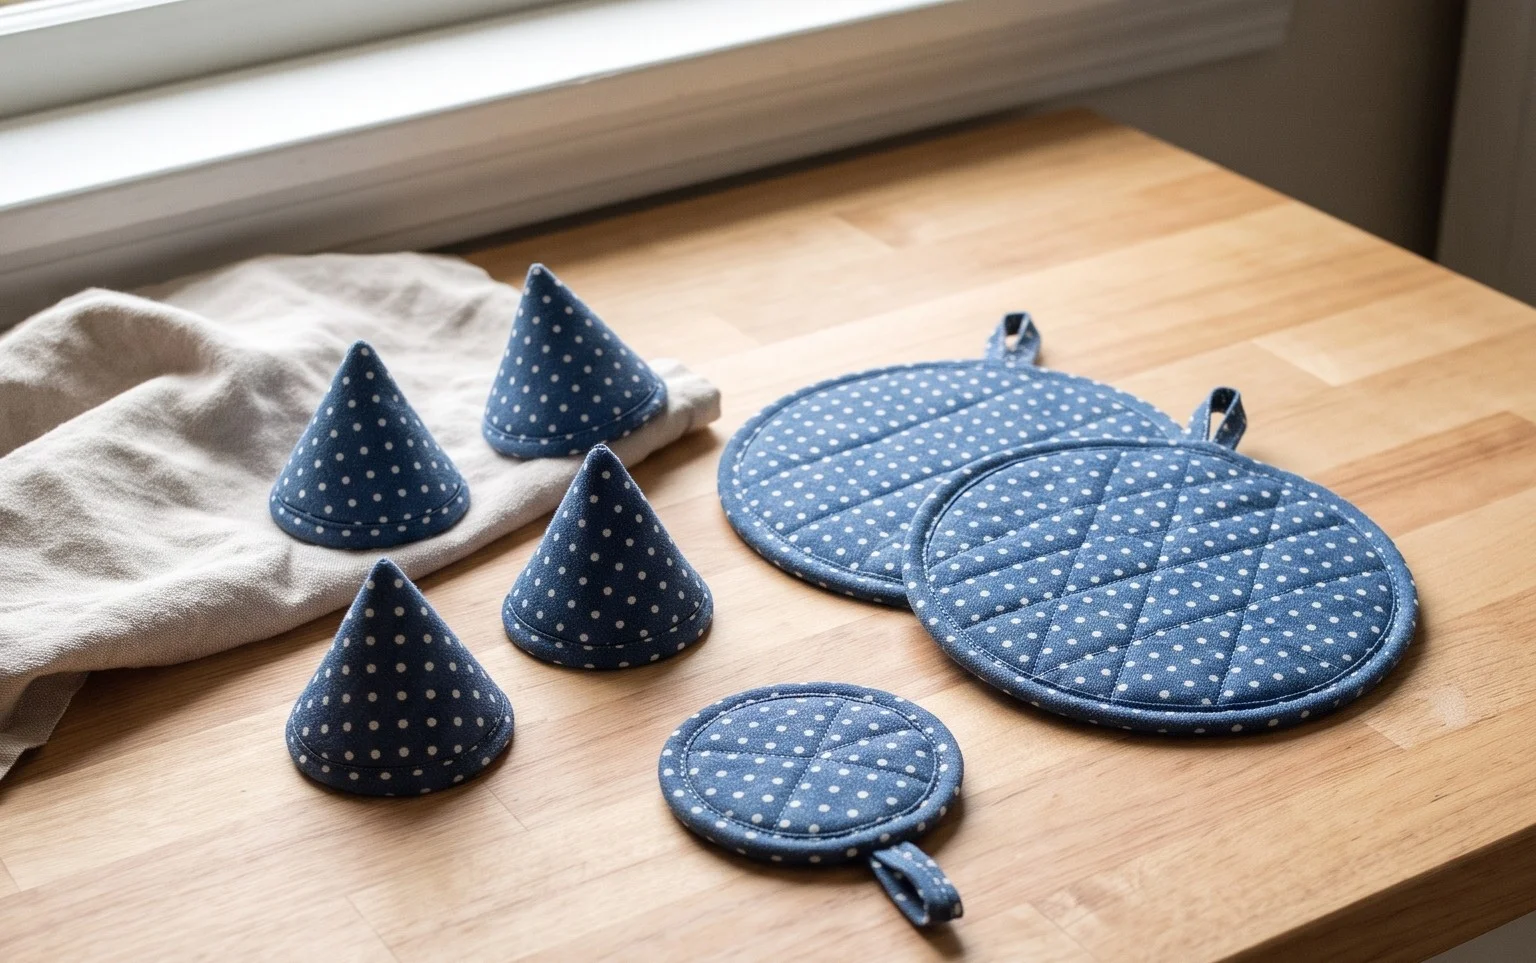
Why You’ll Love This Pattern
This classic crochet dishcloth is designed to tackle even the toughest kitchen cleaning tasks while remaining soft enough for delicate surfaces. The texture is created using a variation of the moss stitch, which produces a dense, scrubby fabric that holds soap effectively without becoming overly bulky. Because it uses a simple two-row repeat, this pattern is easy to memorize during a movie or a podcast. It works up quickly, making it an ideal project for using up leftover cotton yarn from larger home decor items. You can produce a finished cloth in about an hour, which makes it a practical choice for last-minute housewarming gifts or replenishing your own linen closet.
I finally found a dishcloth pattern that does not stretch out of shape after the first wash. The stitch definition is beautiful and it holds up perfectly to daily scrubbing.
— Sarah, home crafter
Pattern Overview & Skill Level
- Skill Level: Beginner
- Approximate Time: 45 to 60 minutes
- Construction: Worked in rows from the bottom up with a simple border
- Finished Dimensions: 8 inches by 8 inches
Materials & Supplies Needed
- Yarn: Worsted weight #4, 100% cotton, approximately 75 yards per cloth. Cotton is essential for absorbency and heat resistance.
- Hook Size: 5.0 mm (US H-8) crochet hook.
- Notions: Tapestry needle for weaving in ends, pair of scissors.
- Yarn Substitutions: You may use a cotton-linen blend for increased durability, though this may result in a slightly stiffer fabric. Acrylic yarn is not recommended for this project as it is not absorbent and will melt if it touches a hot pan.
Stitch Guide & Abbreviations (US Terms)
- ch = chain
- sc = single crochet
- st(s) = stitch(es)
- sk = skip
- sp = space
- RS = right side
- yo = yarn over
Special Stitch: Moss Stitch (also known as linen stitch) consists of alternating single crochet stitches and chain spaces. In this pattern, the single crochet of the new row is always worked into the chain-1 space created in the previous row.
Step-by-Step Pattern Instructions
Main Body
- Foundation: Ch 32.
- Row 1: Sc in the 4th ch from the hook, *ch 1, sk 1 ch, sc in the next ch. Repeat from * across. Turn. (15 sc, 15 ch-1 sps)
- Row 2: Ch 2, sc in the first ch-1 sp, *ch 1, sk the next sc, sc in the next ch-1 sp. Repeat from * across, finishing with an sc in the turning chain space. Turn. (15 sc, 15 ch-1 sps)
- Rows 3–40: Repeat Row 2 until the piece forms a square, measuring approximately 8 inches.
Border & Finishing
- Border: After completing the final row, do not fasten off. Ch 1, turn, and work 1 sc into each st and 1 sc into each ch-1 sp around the entire perimeter of the square. Work 3 sc into each corner to ensure the cloth lays flat.
- Join: Sl st to the first sc of the round.
- Finishing: Fasten off, leaving a 6-inch tail. Use a tapestry needle to weave the tail into the back of the work, moving in a zig-zag pattern to prevent the end from pulling out during wash cycles.
Care & Washing Instructions
- Machine wash in warm water on a gentle cycle with like colors to prevent dye bleeding.
- Tumble dry on low heat or lay flat on a towel to air dry for best results.
- Reshape the cloth by pulling gently on the corners while it is damp to ensure it remains perfectly square.
Pro Tips & Common Mistakes to Avoid
- Maintain consistent tension throughout the project. If your stitches become significantly tighter toward the middle, the cloth will lose its square shape.
- Use a stitch marker at the beginning of each row to help identify the turning chain space, which can be difficult to see for beginners.
- Weave in ends diagonally across the back of the work rather than in a straight line. This creates more friction and keeps the end secure despite heavy agitation in the washing machine.
- To adjust the size, start with an even number of chains. Adding or subtracting 2 chains will change the width by roughly 0.5 inches, but remember that a larger size will require additional yardage.
Frequently Asked Questions
Can I use a different yarn weight for this pattern?
Using a different yarn weight will significantly change the dimensions of the finished cloth. If you use a lighter weight yarn, you will need to add more starting chains and more rows to achieve the standard 8-inch square size.
Is this pattern suitable for complete beginners?
Yes, this is an excellent starter project. It uses only the most basic stitches and focuses on maintaining a consistent rhythm, which is the foundational skill for all future crochet work.
Why does my dishcloth look like a trapezoid instead of a square?
This usually happens if you miss the turning chain or skip the final chain space at the end of a row. Counting your stitches at the end of each row ensures you have maintained the correct width throughout.
Am I allowed to sell the dishcloths I make from this pattern?
You are welcome to sell finished items made from this pattern in small quantities. Please credit the design to this tutorial when listing your products online or at craft markets.
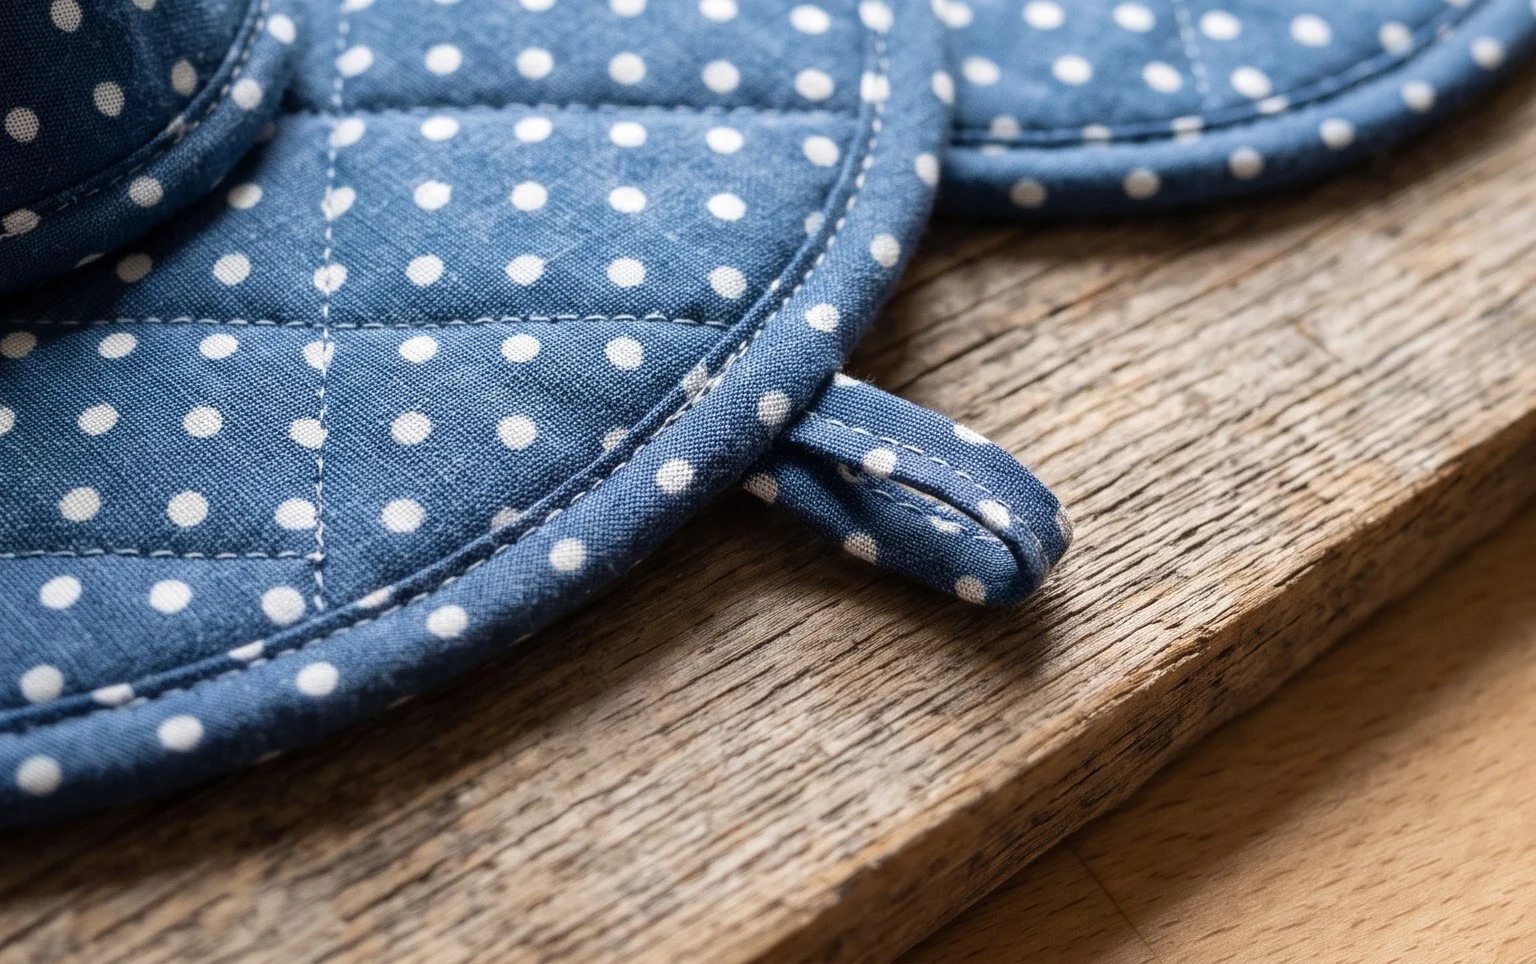
Your new crochet pot lid holders provide reliable protection for your hands every time you move a hot pan from the stovetop to the table. If you want to customize your set, try using a variegated cotton yarn for a striped look or increase the dimensions by adding more chains to your foundation row. Post a photo of your finished work on Instagram or Pinterest so other makers can see your color choices. Browse my collection of other kitchen projects for more free patterns to fill your home pantry.