Easy Granny Square Crochet Guide: Materials You Need
A stack of cotton granny squares feels sturdy and crisp in your hands, with each cluster sitting neatly against the next. This project suits anyone wanting to build confidence in their stitches or those who want to turn a pile of random leftover yarn into a cohesive blanket. You will find that the rhythm of joining rounds from the center outward becomes meditative within minutes. This guide covers the specific yarn weights and hook sizes that give your squares the right structure for joining later. Mastering this foundational shape allows you to create everything from simple coasters to large heirloom blankets for your home.
Why You’ll Love This Pattern
The Classic Crochet Granny Square is the foundation of countless heritage projects, offering a repetitive rhythm that is easy to memorize. Working in the round ensures that you see the square take shape quickly, making it a highly rewarding project for those who enjoy immediate visual feedback. Because this pattern uses standard stitches, it is an ideal way to practice maintaining consistent tension across clusters. It also serves as an excellent vehicle for using up leftover yarn scraps from previous projects, as each round can be worked in a different color to create a unique, scrappy aesthetic.
I managed to finish a whole stack of these in just one weekend while listening to audiobooks, and the instructions were clear enough that I did not have to keep looking back at the screen.
— Sarah, hobbyist crocheter
Pattern Overview & Skill Level
- Skill Level: Beginner
- Approximate Time: 30–45 minutes per square
- Construction: Working in joined rounds, starting from the center and expanding outward
- Finished Dimensions: Approximately 6 inches by 6 inches when using worsted weight yarn
Materials & Supplies Needed
- Yarn: Worsted weight (#4 medium), 100% cotton or acrylic blend, approximately 20 yards per square.
- Hook Size: 5.0 mm (US H-8).
- Notions: Tapestry needle for weaving in ends, sharp scissors.
- Yarn Substitutions: You can use DK weight yarn for a smaller, more delicate square, though you will need to increase the number of rounds to reach a 6-inch size. Bulky weight yarn will produce a larger, thicker square, which is excellent for joining into heavy blankets.
Stitch Guide & Abbreviations (US Terms)
- ch: chain
- st/sts: stitch/stitches
- sl st: slip stitch
- dc: double crochet
- dc cluster: a group of 3 double crochet stitches worked into the same space
- sp: space (the gap between clusters)
Step-by-Step Pattern Instructions
Granny Square Body
- Rnd 1: Ch 4, join with sl st to first ch to form a ring. Ch 3 (counts as first dc here and throughout), work 2 dc into the ring. Ch 2, work 3 dc into the ring, ch 2. Work 3 dc into the ring, ch 2. Work 3 dc into the ring, ch 2. Join with sl st to top of starting ch-3. (12 dc, 4 ch-2 spaces)
- Rnd 2: Sl st into the next dc and into the corner ch-2 sp. Ch 3, 2 dc in same corner sp, ch 2, 3 dc in same corner sp. Ch 1, (3 dc, ch 2, 3 dc) in next corner sp. Repeat from * to * two more times. Ch 1, join with sl st to top of starting ch-3. (24 dc, 4 ch-2 spaces, 4 ch-1 spaces)
- Rnd 3: Sl st into next dc and into the corner ch-2 sp. Ch 3, 2 dc in same corner, ch 2, 3 dc in same corner. Ch 1, 3 dc in next ch-1 sp, ch 1, (3 dc, ch 2, 3 dc) in next corner sp. Repeat from * to * two more times. Ch 1, 3 dc in next ch-1 sp, ch 1, join with sl st to top of starting ch-3. (36 dc, 4 ch-2 spaces, 8 ch-1 spaces)
- Rnd 4: Continue working in the same manner, placing (3 dc, ch 2, 3 dc) in each corner and 3 dc in every ch-1 space along the sides, with a ch 1 between clusters. Join with sl st to the top of the starting ch-3. (48 dc, 4 ch-2 spaces, 12 ch-1 spaces)
Finishing
After completing the final round, fasten off your yarn, leaving a tail of at least 6 inches. Use your tapestry needle to weave the tail through the back of the stitches to secure it. If you plan to join multiple squares, leaving longer tails can sometimes assist in the sewing process, but generally, trimming the ends closely after weaving is standard practice for a clean finish.
Care & Washing Instructions
- Hand wash your finished square in cool water using a gentle detergent specifically designed for yarn fibers.
- Gently squeeze out excess water by rolling the square in a towel, then lay it flat on a clean, dry surface to air dry.
- Block your square by pinning it to the correct dimensions on a blocking mat or towel to ensure it lays perfectly flat and square before joining.
Pro Tips & Common Mistakes to Avoid
Maintaining consistent tension is the most important factor in ensuring your corners stay sharp and your sides do not ripple. If you find your square is curling, try going up a half-size in your hook. Always use a stitch marker in the first stitch of every round; this makes it much easier to identify where to join your slip stitch at the end of the round. To weave in your ends invisibly, work the needle through the center of the double crochet stitches rather than pulling the yarn across the surface. If you choose to make the square larger, add rounds following the established pattern of 3 dc clusters in every side space, which will require an extra 12 stitches per additional round.
Frequently Asked Questions
Can I use a different yarn weight for this pattern?
Yes, you can use any yarn weight. Keep in mind that lighter yarns will create a smaller square and heavier yarns will create a larger one, so you may need to adjust the total number of rounds to reach your desired size.
How do I join these squares together?
There are several methods for joining, including the mattress stitch for an invisible seam or the single crochet join for a decorative, raised ridge. Choose the method that best fits your desired final look.
Is it okay to sell items made from this pattern?
You are welcome to sell physical items made using these instructions. Please provide credit to the designer whenever possible, though you may not sell the pattern document itself.
What should I do if my square starts to twist?
Twisting often occurs if the stitch tension is too tight or if the starting chain was pulled too hard. Check that you are working three full double crochets into every corner space and try to relax your grip on the yarn as you pull through the loops.
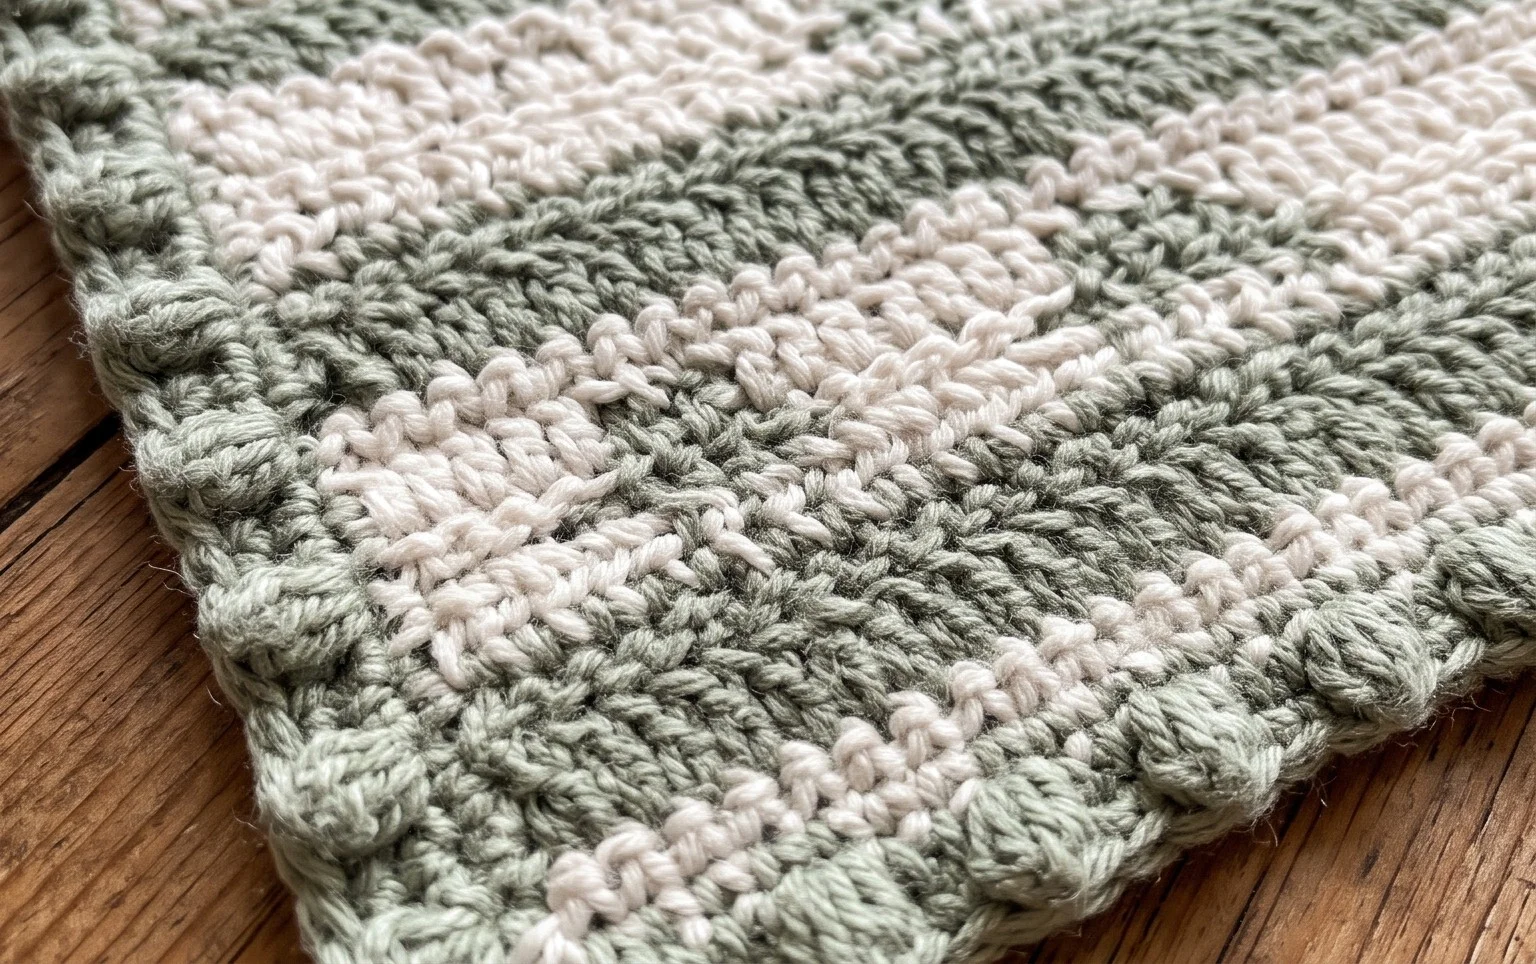
Your finished square has a clean, uniform look that highlights the beauty of simple stitches worked in a classic round. You can easily modify the result by switching to a wool blend for a squishier feel or by varying the number of rounds to make a larger pillow cover. Please share a photo of your progress on social media so others can see your color choices. You can find more free patterns and project guides on the main blog page to keep your hands busy during your next afternoon project.