45-Minute Crochet Stockings: Free Beginner Pattern
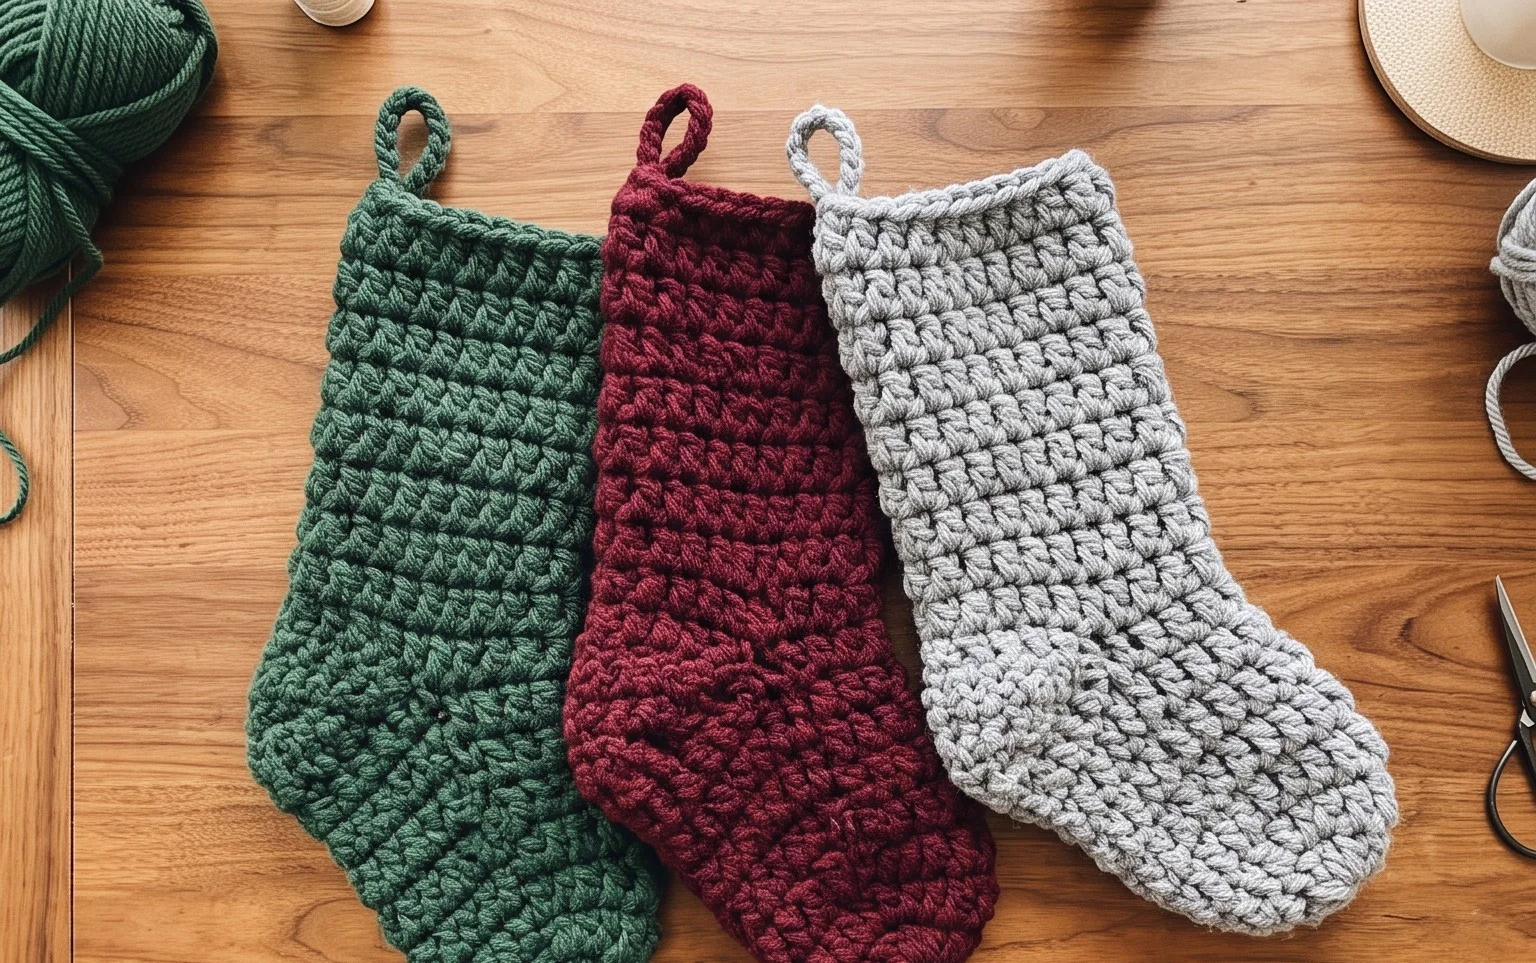
These miniature stockings possess a dense, squishy texture that makes them hang beautifully from a fireplace mantel or tuck neatly into a holiday card. You will find that the construction relies on simple spiral rounds, creating a seamless finish that looks professional without any difficult assembly. It is a satisfying project for those who want to decorate their home with handmade warmth or create thoughtful items for friends. Throughout this guide, you will learn how to maintain even tension while working in the round, ensuring your final piece is sturdy enough to hold small candies or trinkets.
Why This Project Is Worth Making
This beginner-friendly project works up quickly, making it a perfect weekend endeavor for those who enjoy immediate gratification. Because it requires only a small amount of yarn, it serves as an excellent way to clear out partial skeins from your stash. The repetitive nature of the single crochet stitches provides a meditative rhythm that helps many makers relax after a long day. You will find that this design is sturdy enough for daily use, yet soft enough for gift-giving.
I finished this pattern in a single afternoon and loved how clear the instructions were for a beginner like me.
— Sarah, hobbyist crocheter
Pattern Overview & Skill Level
- Skill Level: Beginner
- Approximate Time: 2 to 3 hours
- Construction: Amigurumi-style continuous rounds, worked from the base upward with a simple decrease for the closure.
- Finished Dimensions: 4 inches tall by 3 inches wide.
Materials & Supplies Needed
- Yarn: Worsted weight #4, 100% acrylic or cotton, approximately 40 yards in your preferred color.
- Hook Size: 4.0 mm / G-6.
- Notions: Tapestry needle for weaving ends, stitch marker to track the start of rounds, and polyester fiberfill for stuffing.
- Safe Yarn Substitutions: You may use DK weight yarn with a 3.5 mm hook for a smaller, denser finish, or light bulky weight yarn with a 5.0 mm hook for a larger, softer result. Note that changing yarn weight will significantly alter the final dimensions and require more or less stuffing.
Stitch Guide & Abbreviations (US Terms)
- MR: Magic ring
- ch: Chain
- sc: Single crochet
- inc: 2 sc in the same stitch
- dec: sc2tog (insert hook into front loops of next 2 stitches, yarn over, pull through both, yarn over, pull through remaining 2 loops)
- sl st: Slip stitch
- st/sts: Stitch/stitches
Construction Technique
This project is worked in continuous spirals without joining rounds. Place a stitch marker at the first stitch of every round to keep track of your position. Keep your tension tight to ensure the stuffing does not show through the gaps between stitches.
Step-by-Step Pattern Instructions
Main Body
- Rnd 1: Start 6 sc in a MR (6 sts).
- Rnd 2: Inc in each st around (12 sts).
- Rnd 3: (1 sc, inc) repeat 6 times (18 sts).
- Rnd 4: (2 sc, inc) repeat 6 times (24 sts).
- Rnd 5: (3 sc, inc) repeat 6 times (30 sts).
- Rnd 6 – Rnd 12: Sc in each st around (30 sts).
- Rnd 13: (3 sc, dec) repeat 6 times (24 sts).
Closing and Finishing
- Stuff the body firmly with polyester fiberfill, ensuring the base is flat and the sides are filled evenly.
- Rnd 14: (2 sc, dec) repeat 6 times (18 sts).
- Rnd 15: (1 sc, dec) repeat 6 times (12 sts).
- Rnd 16: Dec 6 times (6 sts).
- Fasten off, leaving an 8-inch yarn tail. Thread the tail onto a tapestry needle. Weave the needle through the front loops of the remaining 6 stitches and pull tight to close the hole. Secure the yarn with a knot and bury the remaining end inside the body.
Care & Washing Instructions
- Hand wash in cool water using a mild detergent to maintain the shape of the fiberfill.
- Lay the item flat on a towel to air dry, turning occasionally to ensure even moisture evaporation.
- Avoid wringing or twisting the piece, as this can distort the internal stuffing and the integrity of the crochet stitches.
Pro Tips & Common Mistakes to Avoid
Maintain consistent tension throughout the project by keeping your yarn feed smooth; if your stitches are too loose, the fiberfill will poke through the fabric. Always use a stitch marker at the first stitch of every round, as it is easy to lose count in a continuous spiral. Weave your yarn ends into the interior of the piece rather than just snipping them, which prevents the project from unraveling over time. If you wish to make this project larger, increase the diameter of the base rounds and add additional plain rows before starting the decrease sequence, but be aware that this will require more yarn.
Frequently Asked Questions
Can I use wool yarn instead of acrylic?
Yes, wool is a suitable substitute, though it may be more sensitive to heat during washing. Ensure you follow the specific care instructions on the wool yarn label to avoid accidental felting or shrinking.
How do I keep my edges smooth when working in rounds?
The secret is using a tight tension and ensuring your increases are placed correctly. By using a stitch marker consistently, you avoid skipping or adding stitches, which keeps the circular shape uniform.
Is this pattern appropriate for a complete beginner?
Yes, this is an ideal project for someone learning basic amigurumi techniques like the magic ring and increasing or decreasing. It teaches fundamental skills that are applicable to more complex toy patterns.
May I sell the items I make from this pattern?
Please check the individual license terms provided by the designer. Most designers allow the sale of finished items on a small scale, provided you credit the original pattern creator in your listing.
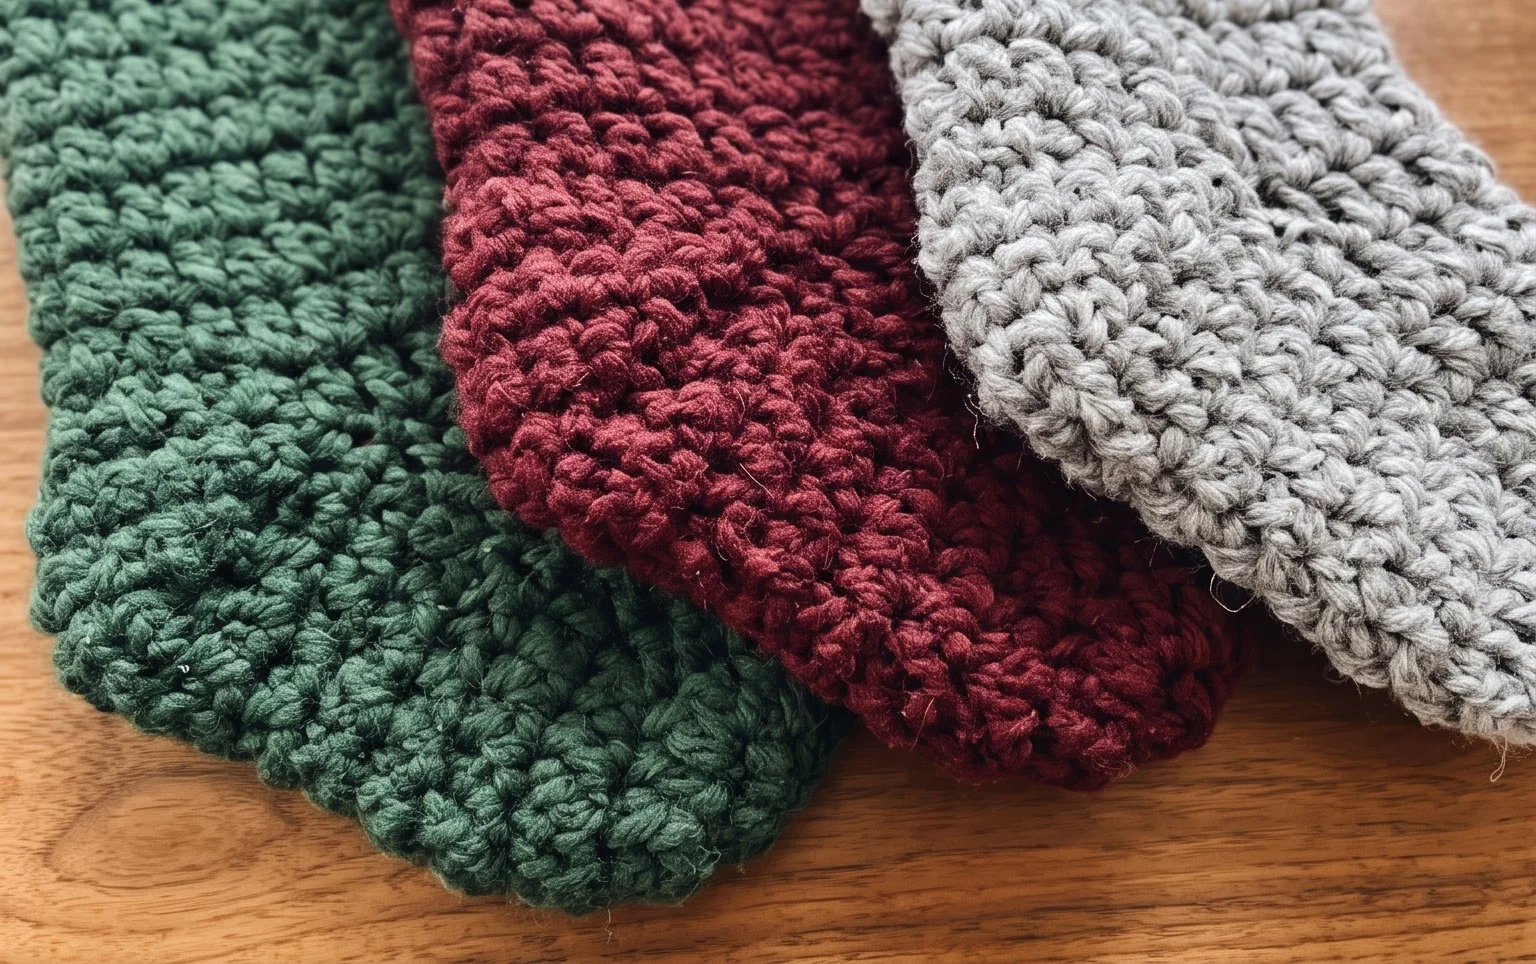
Your finished miniature stockings add a cozy touch to any seasonal display. You might try crafting them in deep forest green or bright peppermint stripes for a classic look, or use a fuzzy mohair blend if you want a softer, haloed finish. Once you finish your set, upload a photo to social media to show how you styled them in your home. You are welcome to browse the rest of the blog for more seasonal projects and small gifts that you can finish quickly.