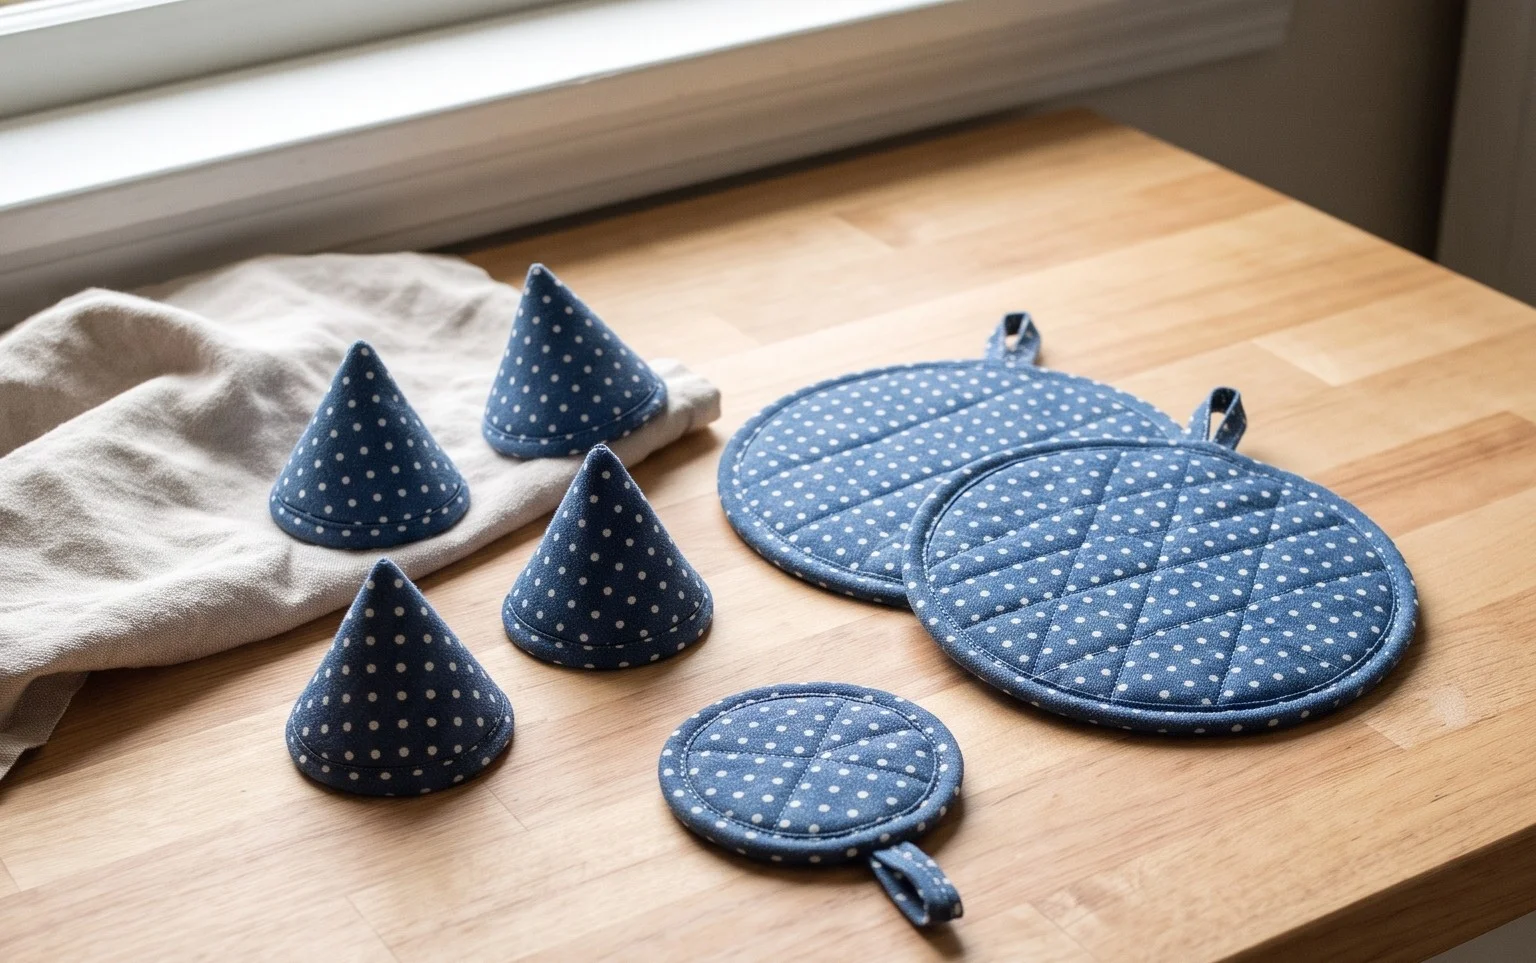
10 Easy Crochet Kitchen Gift Patterns Free Step-by-Step
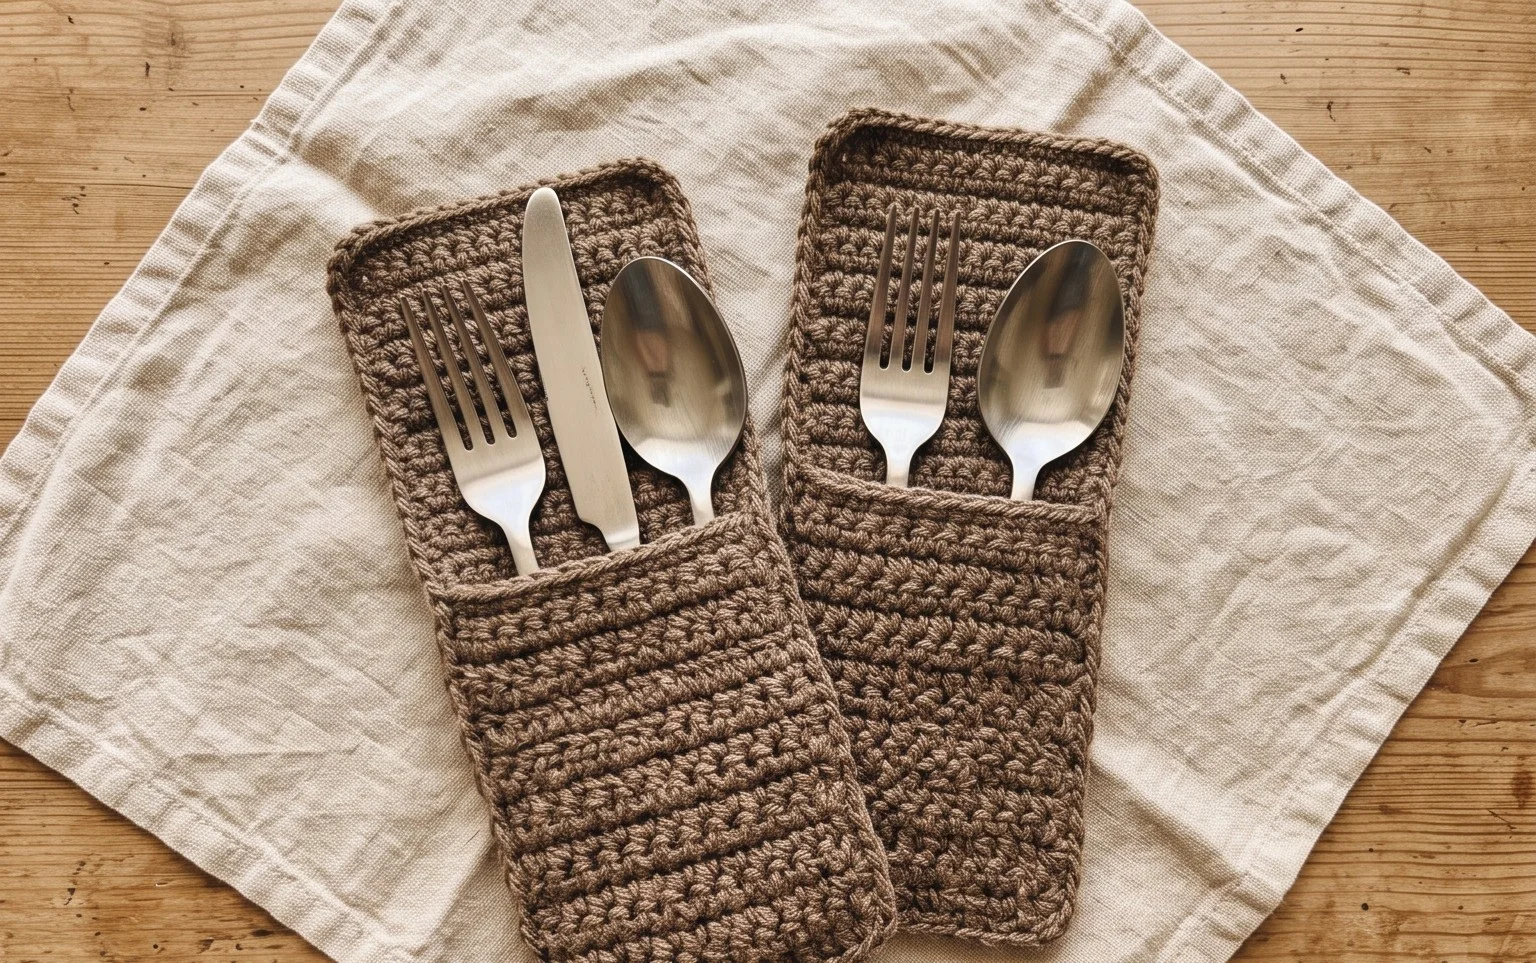
Handmade cotton dishcloths and coasters bring a cozy, practical warmth to any kitchen during the holiday season. These projects feel substantial in your hands, offering a durable texture that holds up to daily washing while looking charming on a countertop. You will find that these designs suit beginners perfectly because they rely on simple stitches like chains and double crochets. Making these accessories helps you manage scrap yarn efficiently, transforming small leftover bundles into thoughtful gifts for friends or family. You will learn the technique for consistent tension and clean edge finishing to ensure your handmade presents look polished and professional.
Why You’ll Love This Pattern
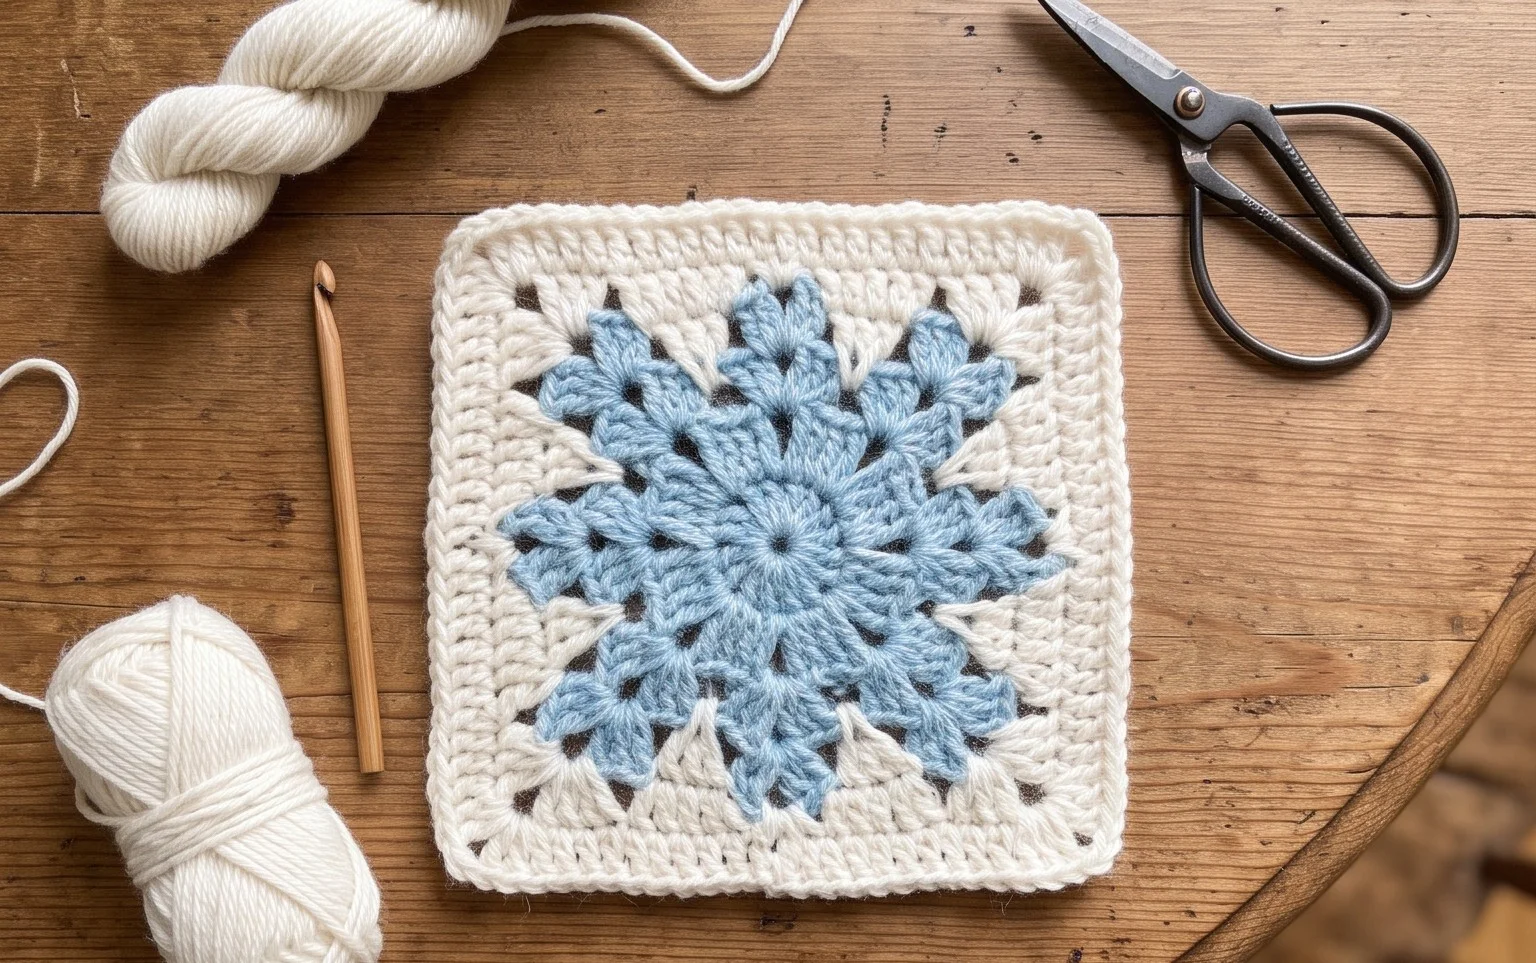
The Classic Crochet Granny Square is the fundamental building block of crochet heritage, favored for its versatility and rhythm. You will appreciate the repetitive nature of this pattern, which creates a meditative experience perfect for winding down after a long day. It is an excellent scrap-yarn project, allowing you to use small amounts of leftover yarn to create vibrant, multi-colored squares that can eventually be joined into blankets, bags, or pillows. Because it relies on basic chain and double crochet stitches, it is highly portable, fitting easily into a small project bag for stitching on the go.
I finally learned how to make a square that actually lays flat. The instructions were easy to follow and my first block turned out perfectly square without any wonky corners.
— Sarah, beginner crocheter
Pattern Overview & Skill Level
- Skill Level: Beginner
- Approximate Time: 30–45 minutes per square
- Construction: Worked in joined rounds, starting from the center and expanding outward
- Finished Dimensions: Approximately 5 inches by 5 inches using medium weight yarn and a 5.0 mm hook
Materials & Supplies Needed
- Yarn: Worsted weight (#4), 100% acrylic or wool blend, approximately 15–20 yards per square.
- Hook Size: 5.0 mm / H-8
- Notions: Tapestry needle for weaving in ends, scissors, and a measuring tape.
- Yarn Substitutions: You may use DK weight yarn for a smaller, delicate square (will require a 4.0 mm hook) or bulky weight for a larger, dense square (will require a 6.0 mm hook). Changing the weight will affect the final dimensions.
Stitch Guide & Abbreviations (US Terms)
- ch: chain
- sl st: slip stitch
- dc: double crochet
- dc cluster: 3 dc worked into the same space
- sp: space
- st/sts: stitch/stitches
Step-by-Step Pattern Instructions
Granny Square Body
- Rnd 1: Start with a magic ring. Ch 3 (counts as first dc), work 2 dc into the ring, ch 2. Work 3 dc into the ring, ch 2 three times. Join with a sl st to the top of the beginning ch-3. (12 dc, 4 ch-2 spaces)
- Rnd 2: Sl st into the next 2 sts and into the first ch-2 space. Ch 3, (2 dc, ch 2, 3 dc) in the same ch-2 space. Ch 1, skip 3 sts, (3 dc, ch 2, 3 dc) in the next ch-2 space. Repeat from * to * two more times. Ch 1, join with a sl st to the top of the beginning ch-3. (24 dc, 4 ch-2 spaces, 4 ch-1 spaces)
- Rnd 3: Sl st into the next 2 sts and into the next ch-2 space. Ch 3, (2 dc, ch 2, 3 dc) in the same ch-2 space. Ch 1, 3 dc in the next ch-1 space, ch 1, (3 dc, ch 2, 3 dc) in the next ch-2 corner space. Repeat from * to * two more times. Ch 1, 3 dc in the final ch-1 space, ch 1, join with a sl st to the top of the beginning ch-3. (36 dc, 4 ch-2 spaces, 8 ch-1 spaces)
- Rnd 4: Continue as established, working (3 dc, ch 2, 3 dc) into every corner ch-2 space and 3 dc into every ch-1 space along the sides, with ch 1 between each cluster. Join at the end of the round with a sl st. (48 dc, 4 ch-2 spaces, 12 ch-1 spaces)
Finishing
Once you reach the desired size, fasten off your yarn, leaving a 6-inch tail. Pull the tail through the final loop to secure. Use a tapestry needle to weave the tail back and forth through the back of the double crochet stitches to hide it securely. Ensure all yarn ends from color changes are woven in on the wrong side of the work.
Care & Washing Instructions
- Machine wash your finished item on a gentle cycle in cool water to prevent fiber distortion.
- Lay the square flat on a clean towel to air dry, ensuring it is shaped into a perfect square.
- Avoid using a tumble dryer, as heat can melt synthetic fibers or felt natural wool fibers unintentionally.
Pro Tips & Common Mistakes to Avoid
Check your tension consistently, especially when working the corner chains, as these determine if your square stays flat or begins to cup. Always place a stitch marker in the first stitch of every round to easily identify where to join your slip stitch. When weaving in ends, run the needle through the base of the stitches in two different directions to prevent the ends from working themselves loose over time. If you wish to make the square larger, simply repeat the pattern of working (3 dc, ch 2, 3 dc) in corners and 3 dc in all side spaces for as many rounds as you desire.
Frequently Asked Questions
Can I use a different yarn weight for this pattern?
Yes, you can use any weight of yarn. However, remember that the hook size must be adjusted to match the yarn weight. A smaller hook will result in a tighter, smaller square, while a larger hook will create a loose, open fabric.
Is this pattern suitable for complete beginners?
This is an excellent project for beginners. It introduces the fundamental concepts of working in rounds, creating corners, and maintaining stitch counts without needing to master complex stitch patterns.
How do I join these squares together?
There are several methods, including the whip stitch, single crochet join, or the invisible join method. Choose the method that best matches the aesthetic you want for your final project.
Can I sell items made from this pattern?
You are welcome to sell finished items you create yourself. Please do not redistribute the pattern text or claim the design as your own work. Always credit the source when sharing your creations.
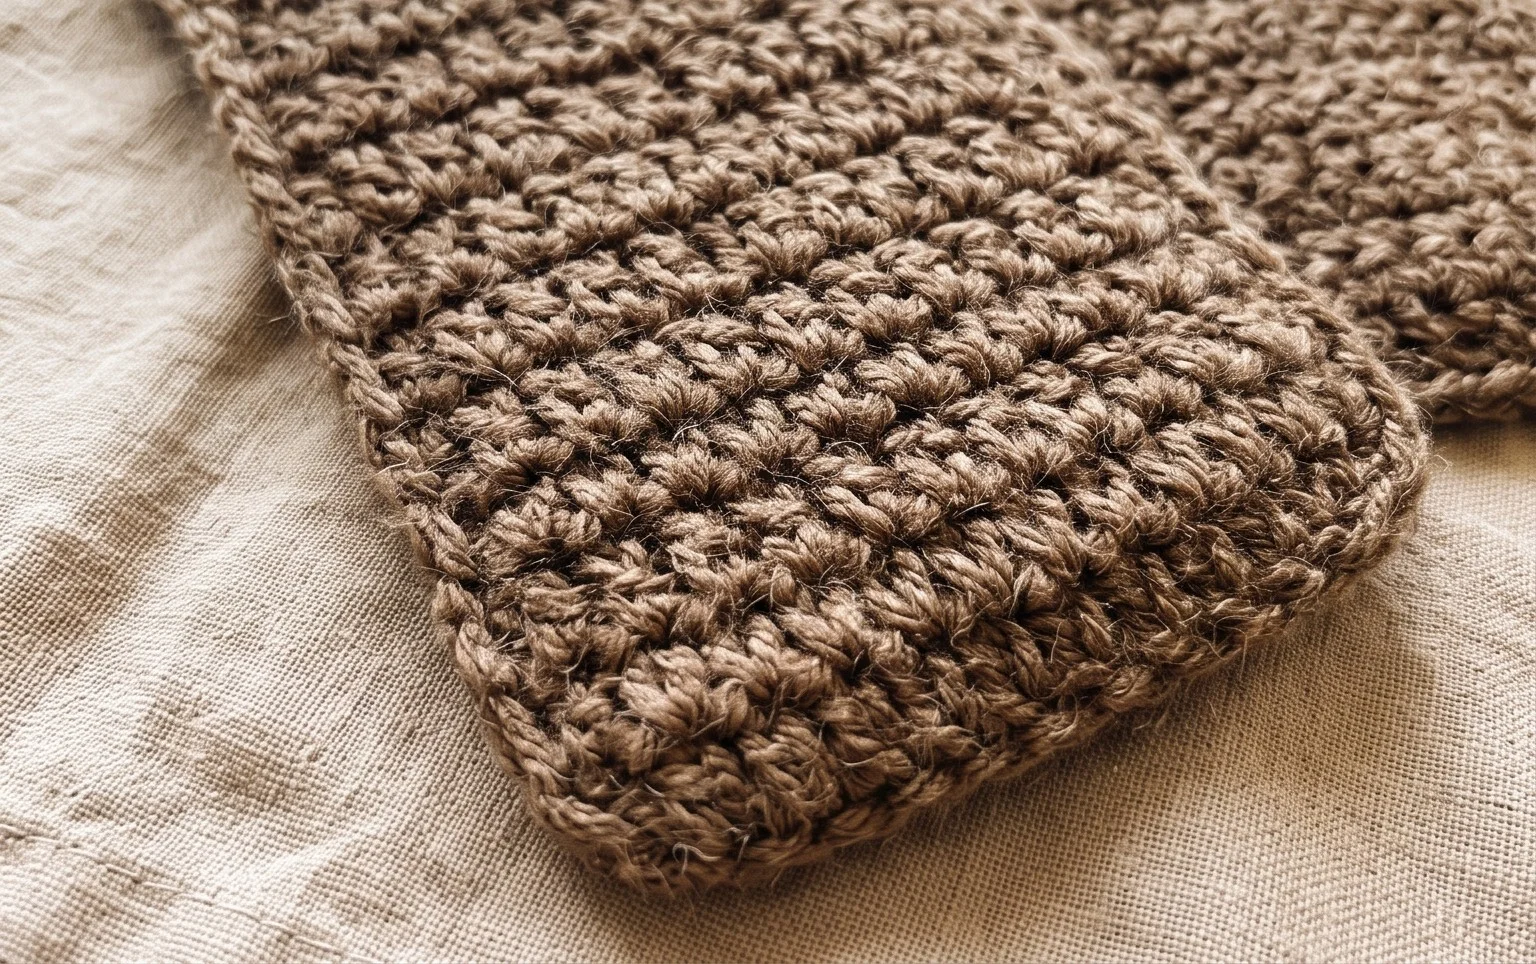
Your finished set of handmade kitchen accessories adds a personal touch to any holiday home display. Try alternating between holiday red and forest green yarn to create a festive, candy-cane-inspired border on your final squares. When you finish your project, posting a photo on social media helps other makers find inspiration for their own handmade gifting plans. We welcome you to browse the rest of our blog for additional seasonal projects, simple home decor tutorials, and more free patterns to fill your creative queue all winter long.