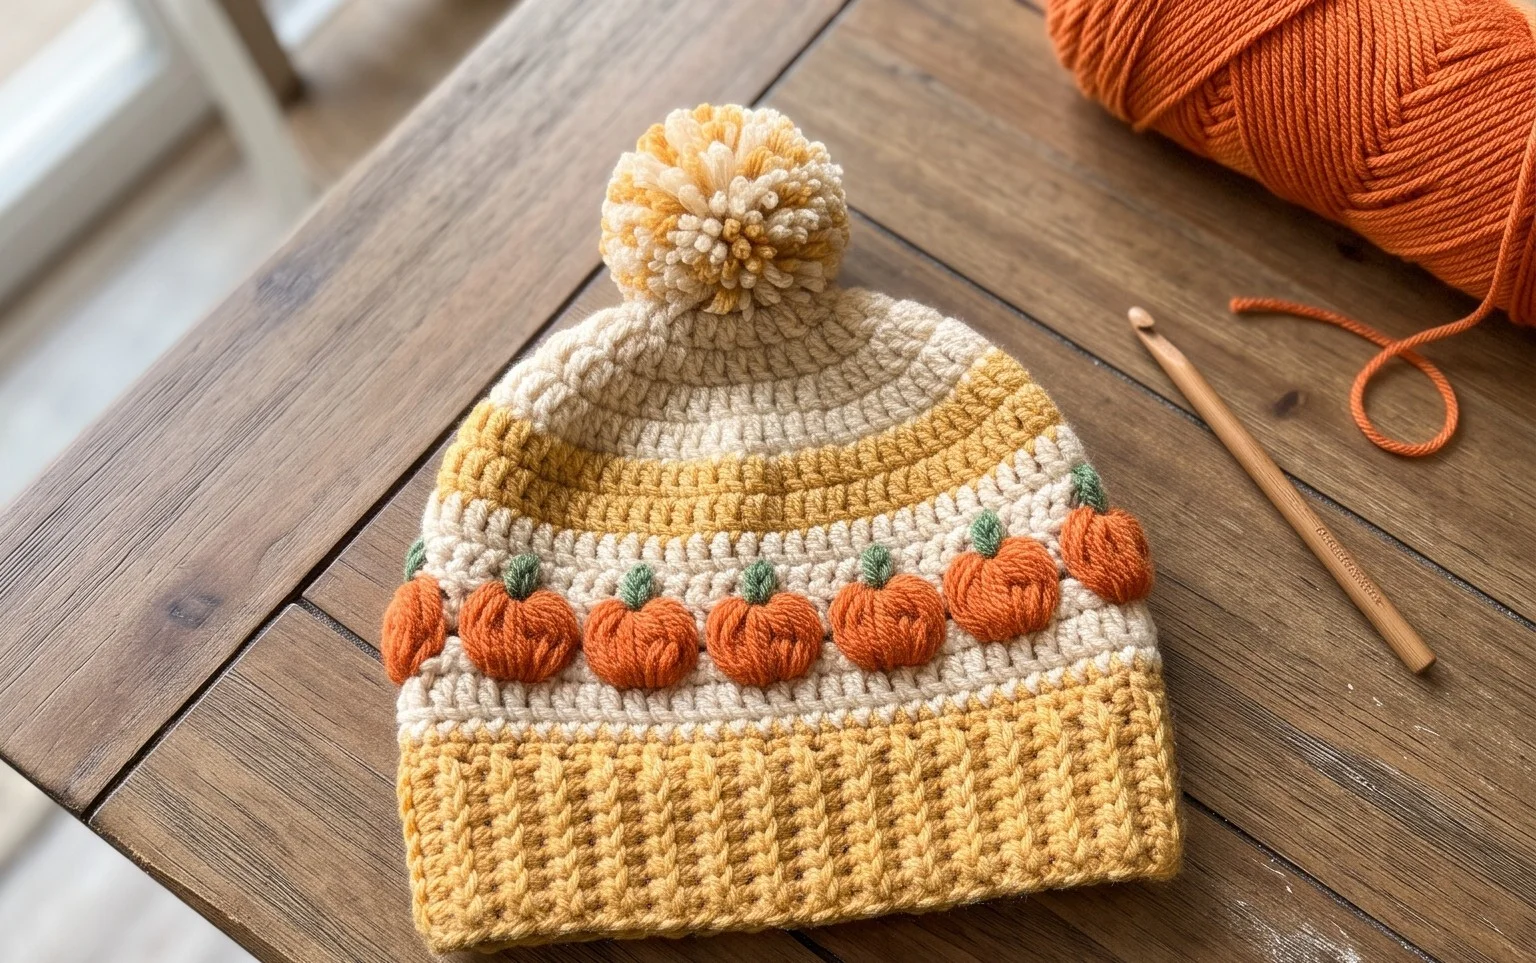
Pumpkins in a Row Crochet Hat: Free Beginner Pattern
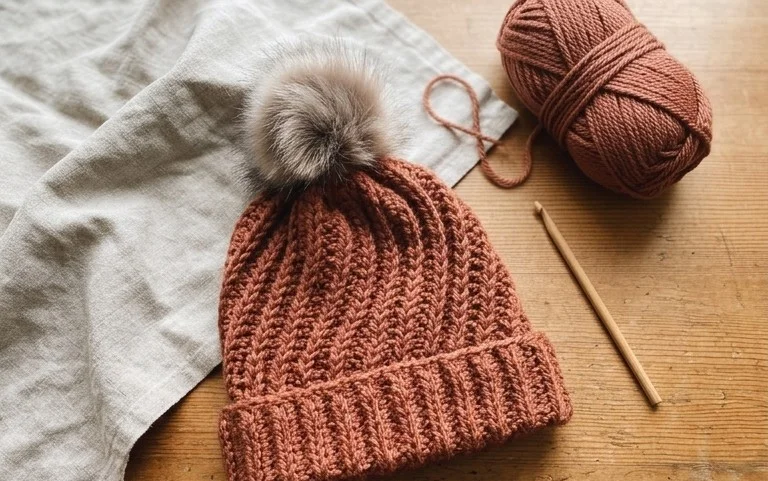
Soft autumn colors and repeating bobble stitches define this cozy headwear project, which creates a textured look that resembles a garden patch in mid-harvest. The design is gentle on the hands for newer crocheters and works well with any medium weight yarn you have in your stash. You will work in rounds to build the base before shifting to the rhythmic bobble stitch rows that give the fabric its signature bumpy, pumpkin-like appearance. It is a satisfying project to finish in a weekend, whether you intend to give it as a gift or wear it on a crisp morning walk.
Why This Project Is Worth Making
This beginner-friendly project creates a small, textured amigurumi mushroom that works up in less than an hour. Its compact size makes it an excellent choice for using up small amounts of leftover scrap yarn from larger blankets or garments. Because the pattern relies on basic single crochet stitches and a simple increase-and-decrease structure, it is a low-stress way to practice working in continuous rounds. The final piece serves as a charming addition to a seasonal nature display or a handmade gift for children.
I managed to whip up three of these for my daughter’s play kitchen in a single afternoon. The instructions were very easy to follow even though I am fairly new to crochet.
— Sarah, hobbyist maker
Pattern Overview & Skill Level
- Skill Level: Beginner
- Approximate Time: 45 minutes
- Construction: Amigurumi style, worked in continuous rounds
- Finished Dimensions: 3 inches tall by 2.5 inches wide
Materials & Supplies Needed
- Yarn: Worsted #4 weight, 100% cotton, approximately 20 yards of red and 15 yards of cream.
- Hook Size: 3.5 mm / E-4.
- Notions: Tapestry needle, stitch marker, fiberfill stuffing, and scissors.
- Yarn Substitutions: Acrylic worsted weight yarn can be substituted for cotton, though the finished mushroom will have a slightly softer, squishier texture. Using a larger hook size will result in larger gaps between stitches, so stick to the recommended size or smaller to prevent stuffing from showing through.
Stitch Guide & Abbreviations (US Terms)
- MR: Magic Ring
- ch: Chain
- sc: Single crochet
- inc: Increase (2 sc in the same stitch)
- dec: Decrease (sc2tog, inserting the hook into the front loops of the next 2 stitches)
- sl st: Slip stitch
- st(s): Stitch(es)
Step-by-Step Pattern Instructions
Mushroom Cap
Using the red yarn, you will work the cap starting from the top center.
- Rnd 1: 6 sc into a MR (6 sts).
- Rnd 2: Inc in each st around (12 sts).
- Rnd 3: [Sc, inc] repeat 6 times (18 sts).
- Rnd 4: [2 sc, inc] repeat 6 times (24 sts).
- Rnd 5: [3 sc, inc] repeat 6 times (30 sts).
- Rnd 6-9: Sc in each st around (30 sts).
- Rnd 10: [3 sc, dec] repeat 6 times (24 sts). Fasten off, leaving a long tail for sewing.
Mushroom Stem
Using the cream yarn, start from the base of the stem.
- Rnd 1: 6 sc into a MR (6 sts).
- Rnd 2: Inc in each st around (12 sts).
- Rnd 3: Working in BLO, sc in each st around (12 sts).
- Rnd 4-7: Sc in each st around (12 sts).
- Rnd 8: [2 sc, dec] repeat 3 times (9 sts). Fasten off, leaving a tail for assembly.
Assembly
Stuff the stem firmly with fiberfill. Use the tail from the stem to sew the top opening of the stem onto the center of the underside of the cap. Lightly stuff the cap before finishing the seam, ensuring the stem is centered. Use the remaining red yarn tail to secure the cap to the stem if needed, then weave in all remaining ends inside the piece.
Care & Washing Instructions
- Hand wash the finished mushroom in cool water with a mild detergent.
- Do not wring or twist the piece, as this will distort the shape; instead, gently press out excess water using a clean towel.
- Lay the item flat on a dry surface away from direct sunlight to reshape and air dry completely.
Pro Tips & Common Mistakes to Avoid
Maintain consistent tension throughout the project to ensure the stitches are tight enough that the fiberfill does not peek through. Always place a stitch marker in the first stitch of every round to keep track of your count, as it is easy to lose your place when working in a continuous spiral. Weave your yarn ends by passing them under several loops on the inside of the work to ensure they stay hidden and secure over time. If you wish to make a larger mushroom, increase the number of rounds in the cap section before starting the decreases, keeping in mind that this will require more stuffing and yarn.
Frequently Asked Questions
Can I use a different weight of yarn for this pattern?
You can use any yarn weight, but you must adjust your hook size accordingly to maintain a dense fabric. If you use a thinner yarn, the finished mushroom will be smaller, and if you use a thicker yarn, it will be larger.
Is it necessary to use a magic ring for the start?
A magic ring provides the tightest possible center for amigurumi. If you find it difficult, you can chain 2 and work your initial stitches into the second chain from the hook, though this may leave a small hole.
How do I keep the stuffing from popping out between stitches?
The best way to prevent stuffing from showing is to use a hook size smaller than the one recommended on the yarn label. This creates a denser fabric with smaller gaps.
Can I sell items made from this pattern?
You may sell items made from this pattern provided you credit the designer. Always check the specific terms included in your pattern source if you obtained this from an external designer’s shop or blog.
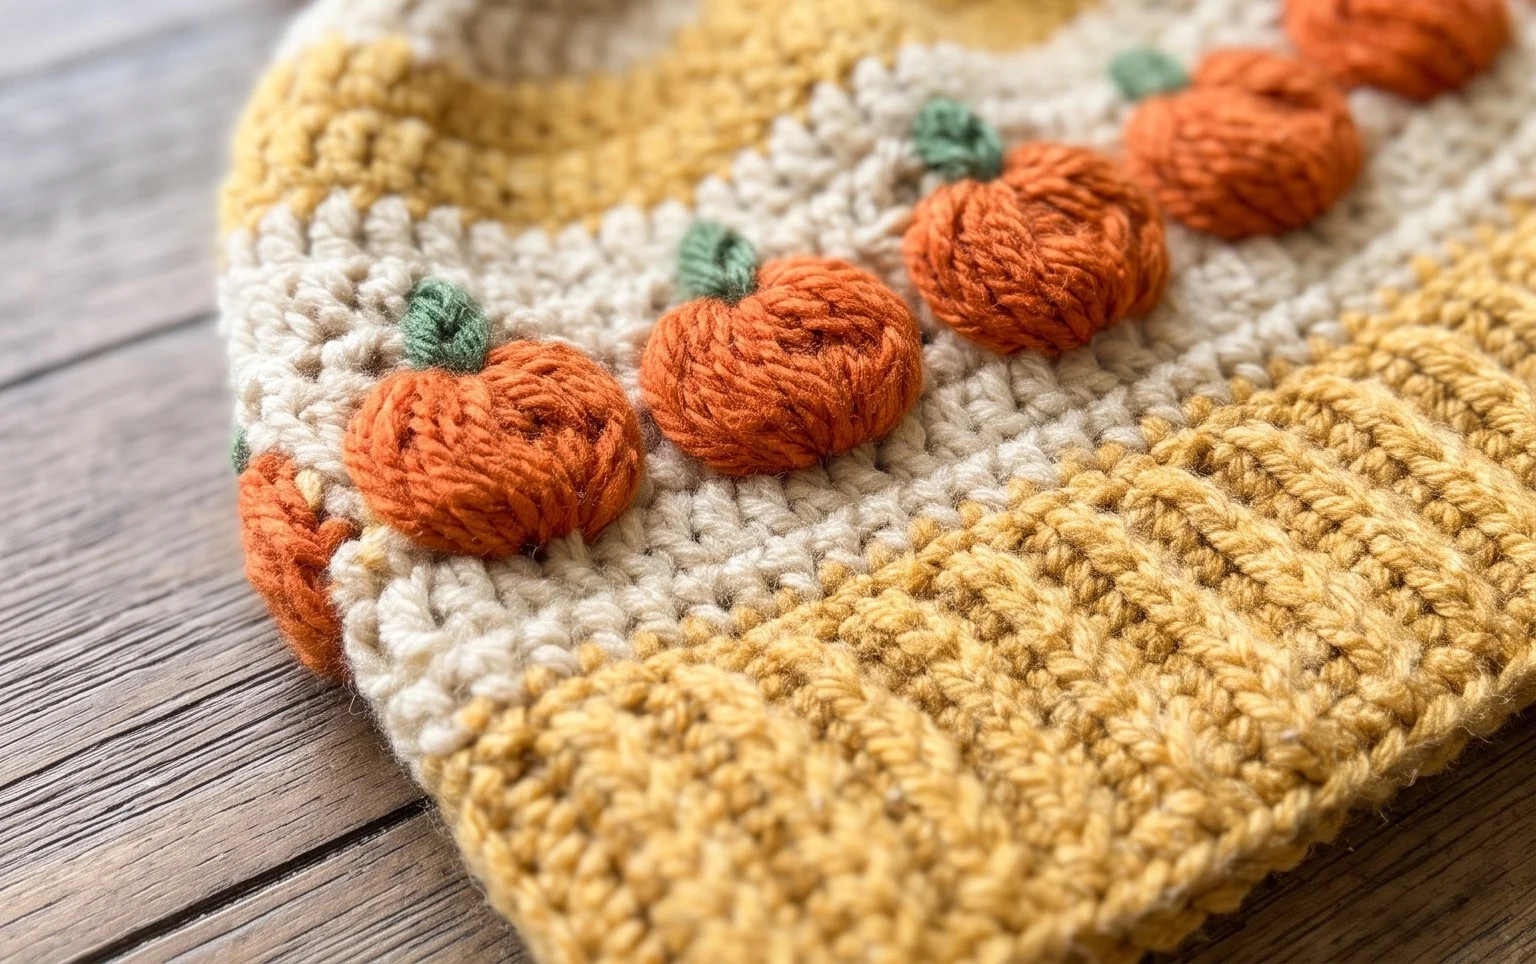
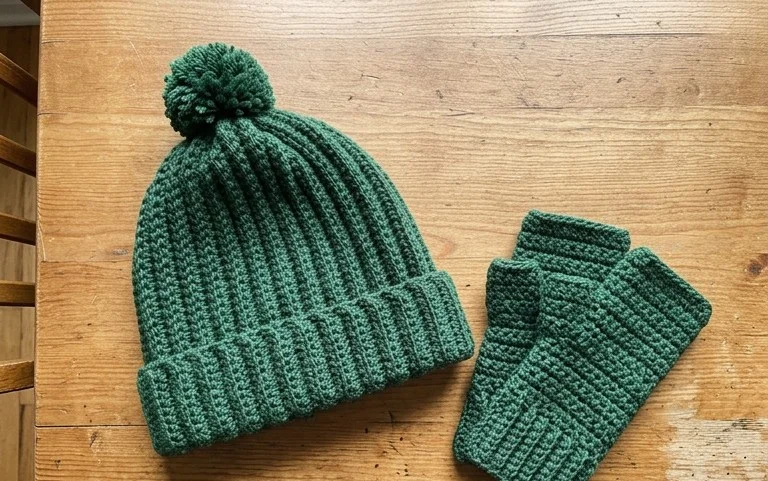
Your finished hat serves as a cozy staple for the harvest season, and you can easily customize the look by switching to deep forest green or muted mustard yarns for a different mood. Try making a larger version by adding extra base rounds or sewing on a faux fur pom-pom to the top for added weight. If you enjoyed this project, snap a photo and tag your creation on your favorite social media site to share the results. Browse the rest of the blog for more seasonal projects and patterns that help you build your skills.