Easy C2C Crochet Stitch Guide: Step-by-Step Tutorial
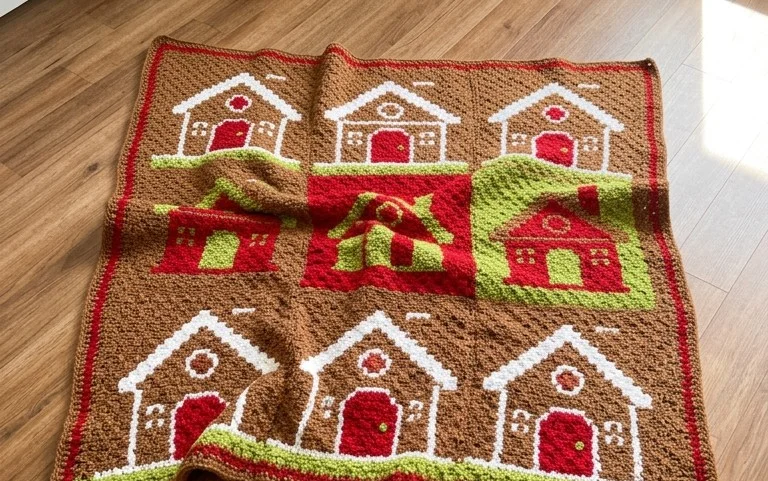
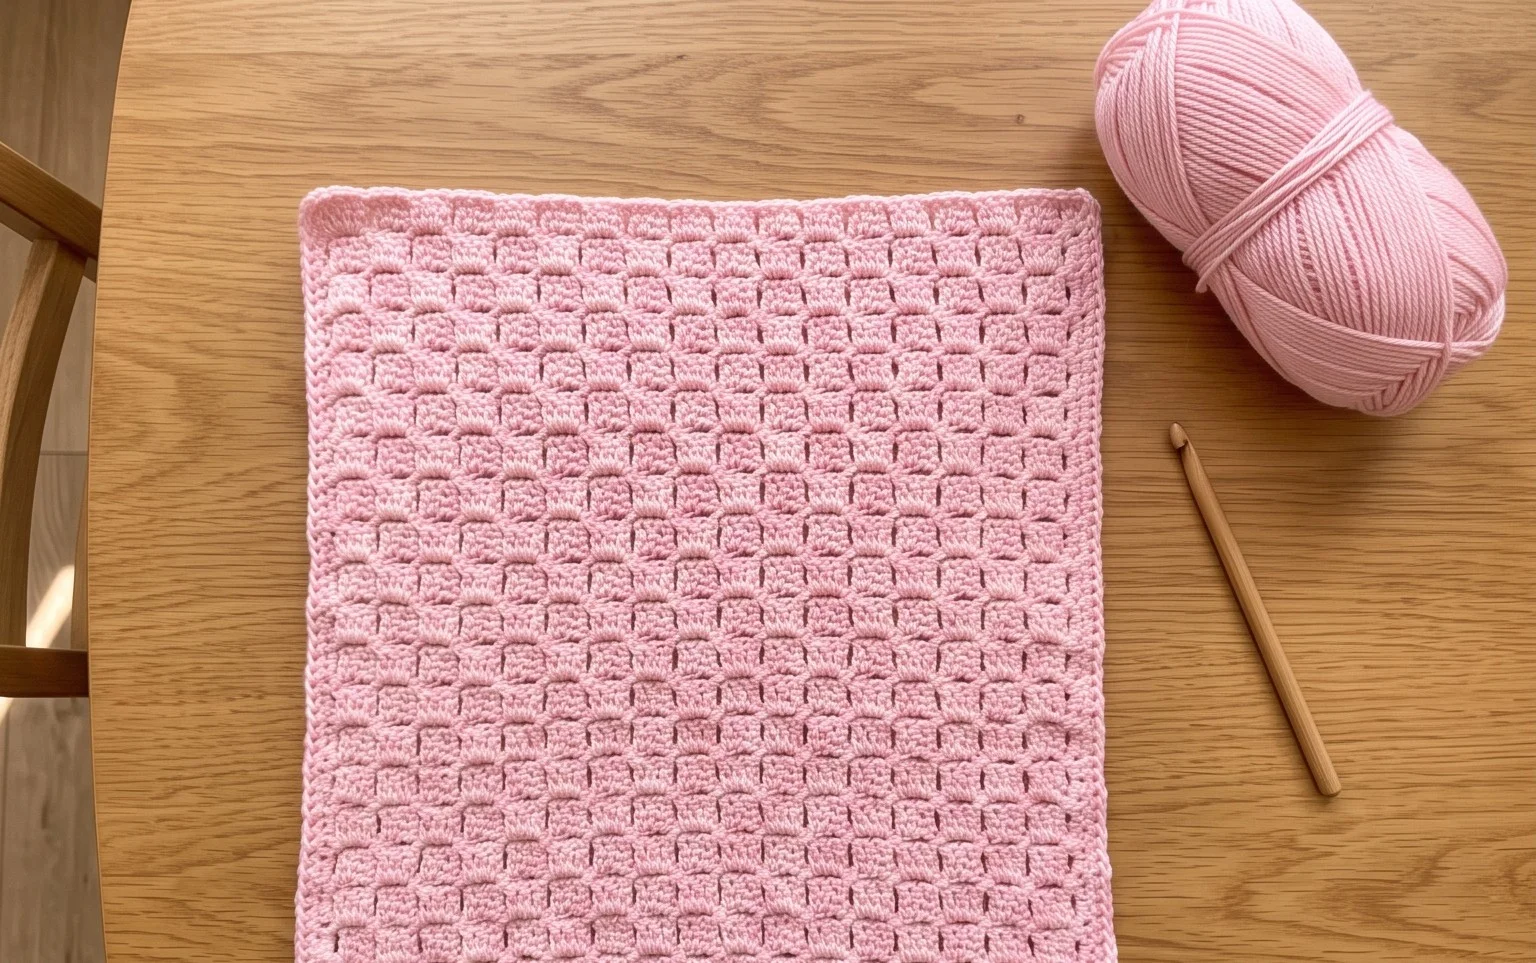
This textured fabric features a distinct diagonal grid that feels surprisingly dense and squishy to the touch. It creates a pixelated effect that makes every piece look unique, especially when you switch colors between small blocks. Beginners appreciate this method because it grows quickly without the need to count long foundation chains. You build the project from one corner to the opposite side, which lets you decide the final width as you go. This tutorial covers the specific chain and double crochet sequence required to create each square tile, giving you the confidence to manage larger blankets.
Why You’ll Love This Pattern
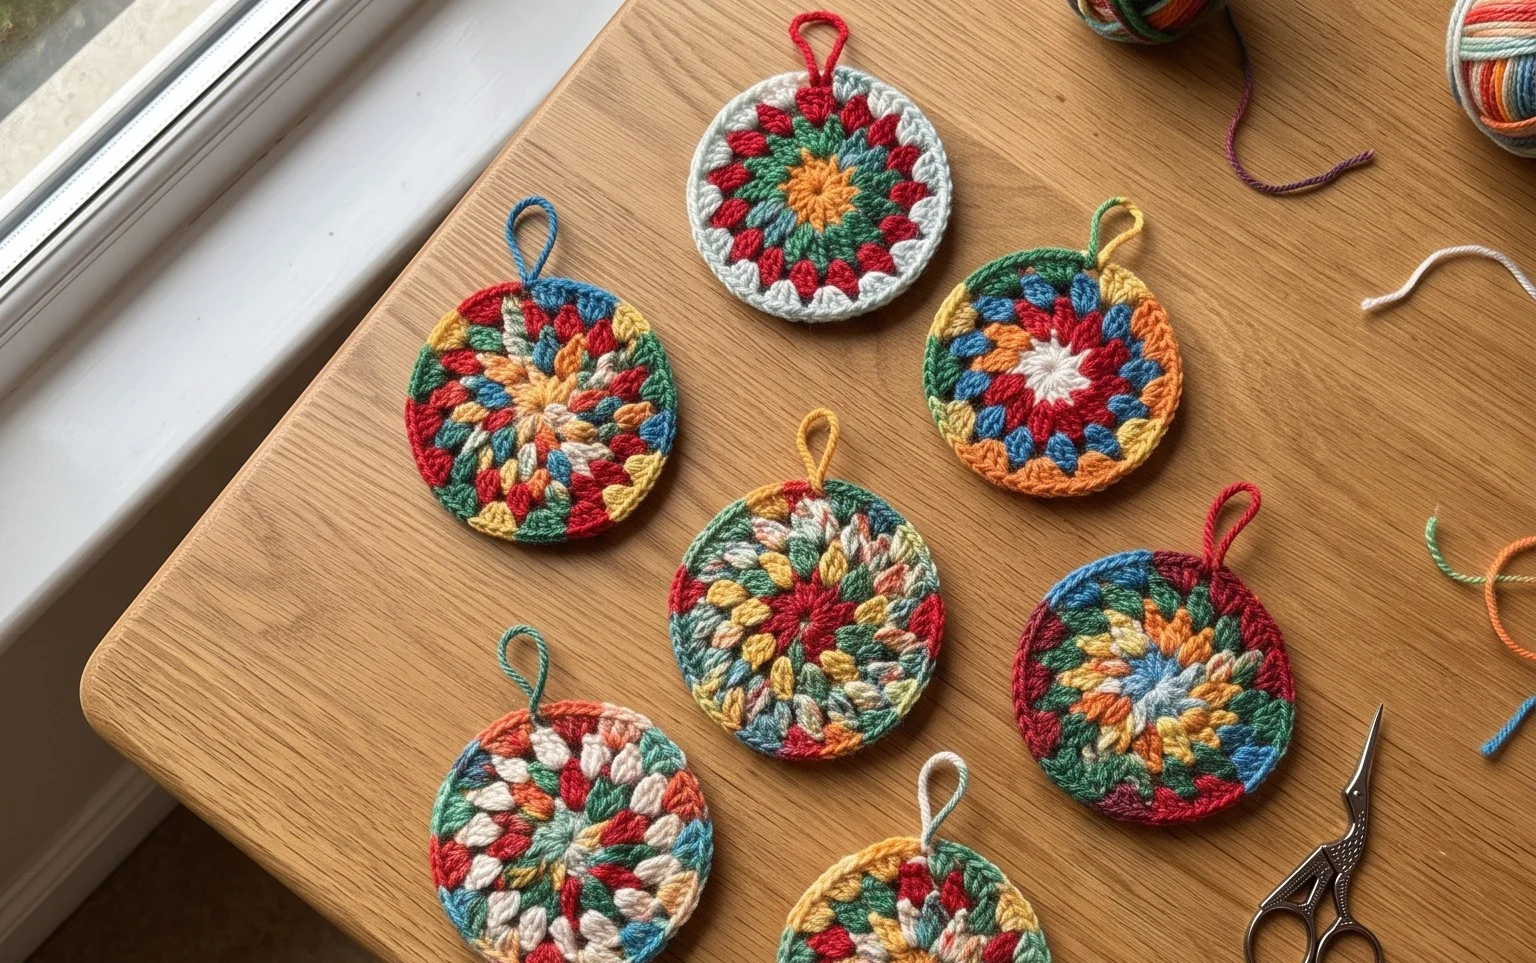
This beginner-friendly crochet coaster pattern uses simple single crochet stitches and a tight tension to create a sturdy, heat-resistant surface for your mugs. It works up in under thirty minutes, making it an ideal choice for using up small amounts of leftover cotton yarn from larger projects. Because it relies on basic increases, you gain practice in maintaining a flat circle, which is the foundational skill for many amigurumi and hat projects. You can easily produce a full set of four for a thoughtful housewarming gift or a quick craft market item.
These coasters were exactly what I needed to finish off a stash of cotton yarn. The instructions are very clear, and they lay perfectly flat without any curling.
— Sarah, home crafter
Pattern Overview & Skill Level
- Skill Level: Beginner
- Approximate Time: 20-30 minutes per coaster
- Construction: Worked in joined rounds, starting from a magic ring and increasing consistently to maintain a flat circle.
- Finished Dimensions: Approximately 4 inches (10 cm) in diameter.
Materials & Supplies Needed
- Yarn: Worsted weight (#4) cotton yarn. Approximately 15 yards per coaster. Cotton is necessary for its heat resistance and absorbency.
- Hook Size: 4.5 mm (US 7) to ensure tight, even stitches that prevent liquid from leaking through.
- Notions: Tapestry needle for weaving in ends, one stitch marker to track the start of rounds.
- Safe Yarn Substitutions: Acrylic yarn is not recommended as it may melt when in contact with hot mugs. A wool-cotton blend can be used, but keep in mind that wool may felt over time if washed frequently. Size may vary slightly based on yarn brand thickness.
Stitch Guide & Abbreviations (US Terms)
- MR = Magic Ring
- ch = Chain
- st = Stitch
- sc = Single crochet
- inc = Increase (work 2 sc into the same stitch)
- sl st = Slip stitch to join
- YO = Yarn over
Step-by-Step Pattern Instructions
Coaster Body
Work all rounds in a continuous loop, joining at the end of each round with a slip stitch unless otherwise noted.
- Rnd 1: Start with a MR. Ch 1, work 6 sc into the ring. Sl st to the first sc to join. (6 sts)
- Rnd 2: Ch 1, 2 sc in each st around. Sl st to the first sc. (12 sts)
- Rnd 3: Ch 1, *1 sc in next st, 2 sc in next st; repeat from * around. Sl st to the first sc. (18 sts)
- Rnd 4: Ch 1, *1 sc in next 2 sts, 2 sc in next st; repeat from * around. Sl st to the first sc. (24 sts)
- Rnd 5: Ch 1, *1 sc in next 3 sts, 2 sc in next st; repeat from * around. Sl st to the first sc. (30 sts)
- Rnd 6: Ch 1, *1 sc in next 4 sts, 2 sc in next st; repeat from * around. Sl st to the first sc. (36 sts)
- Finishing: Fasten off, leaving a 6-inch tail. Use a tapestry needle to pull the tail through the back loops of the final round to create an invisible join, then weave the end securely into the center of the coaster.
Care & Washing Instructions
- Machine wash on a gentle cycle in cool water to prevent color bleeding or shrinking.
- Lay the coaster flat on a towel to air dry, reshaping it with your hands while damp.
- If the coaster becomes warped after washing, press it lightly with a steam iron on the cotton setting to flatten the stitches.
Pro Tips & Common Mistakes to Avoid
Maintaining consistent tension is the most important part of making a flat circle. If your coaster begins to ruffle, your tension is too loose or you are adding too many stitches; if it begins to curl like a bowl, your tension is too tight or you need to increase more frequently. Always use a stitch marker at the first stitch of every round to ensure you do not lose count during the increase sequence. When weaving in your ends, run the needle through the center of the stitches on the back side of the coaster to ensure the yarn is anchored and won’t slip out during use. To make a larger coaster, simply continue the increase pattern in each round by adding one additional single crochet between each increase, which will add 6 stitches per round.
Frequently Asked Questions
Can I use a different weight of yarn for this project?
Yes, you can use DK or bulky weight yarn, but you will need to adjust your hook size accordingly and potentially work more or fewer rounds to achieve a 4-inch diameter.
Why is my coaster cupping instead of laying flat?
Cupping happens when there are not enough increases in the round. Ensure you are following the increase sequence exactly and check that your stitch count increases by 6 every round.
Is cotton yarn the best choice for this project?
Cotton is the standard for coasters because it is heat-resistant, absorbent, and durable enough to withstand frequent washing without losing its shape.
Can I sell the finished coasters I make from this pattern?
You are welcome to sell finished items made from this pattern as long as you credit the original designer in your product listings. You may not sell or redistribute the pattern itself.
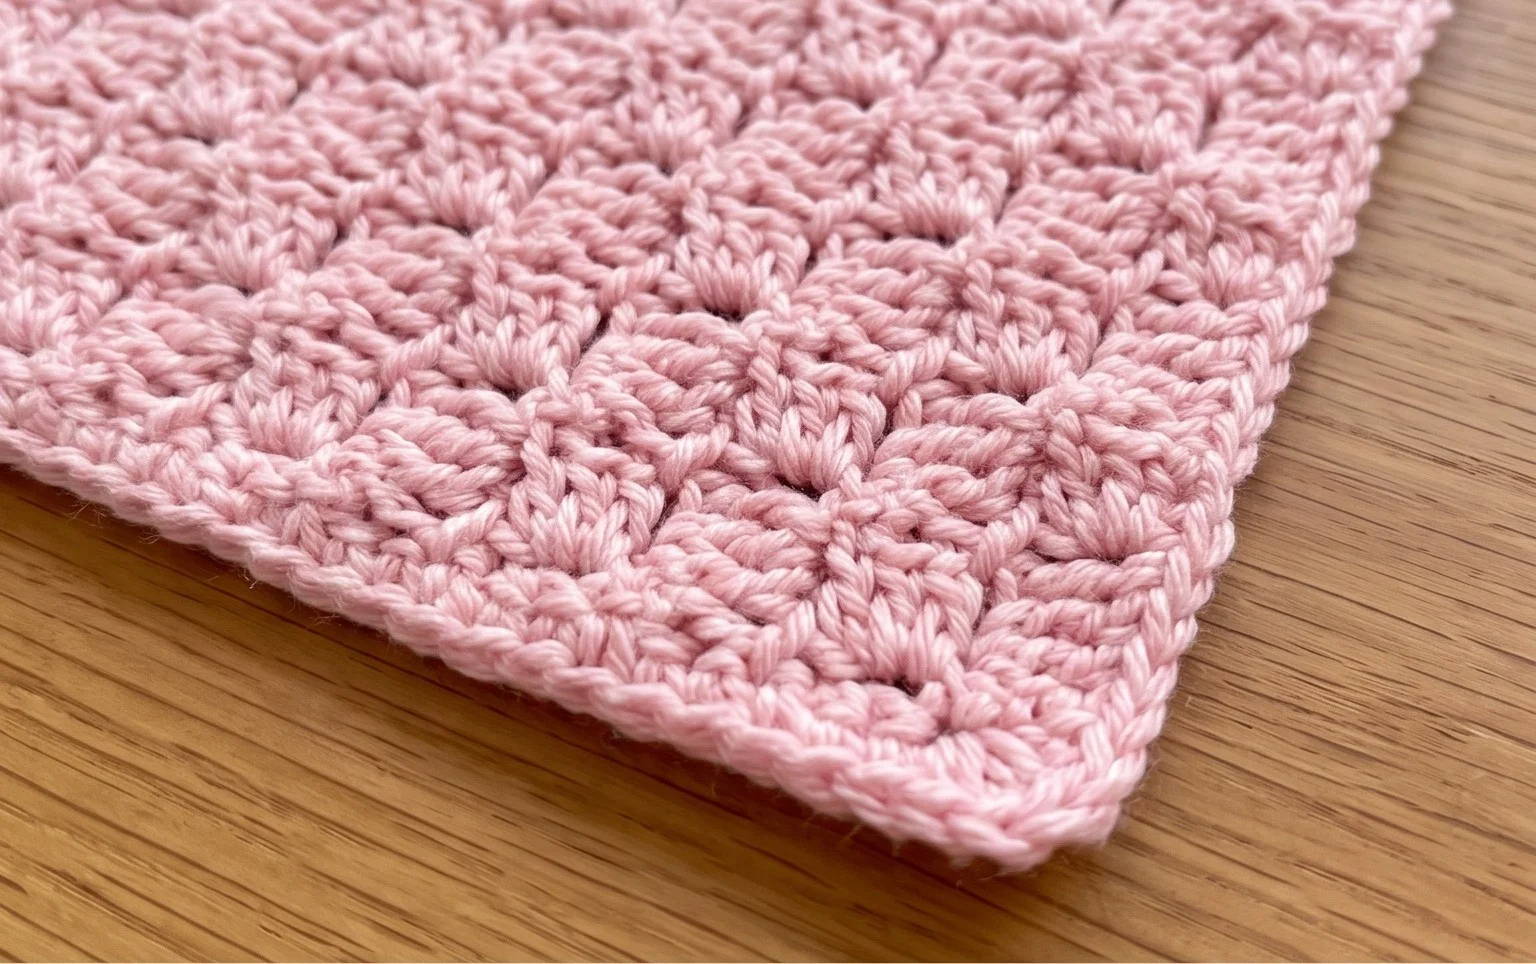
Your finished project shows off a clean diagonal texture that works beautifully for anything from small dishcloths to large throw blankets. You might try working with a variegated yarn to let the color changes happen naturally across each block without needing to weave in extra ends. Seeing how your stitches turn out is the best part of the process, so consider sharing a photo of your work on your favorite social platform. If you want to expand your skills, browse the full archive for more free patterns.